Your CI/CD pipeline on AWS - Part 3
AWS CodeDeploy

In the previous blogs, we dealt with AWS CodeCommit & CodeBuild. In this blog let's discuss AWS CodeDeploy.
AWS CodeDeploy
CodeDeploy is a deployment service that automates application deployments to Amazon EC2 instances, on-premises instances, serverless Lambda functions, or Amazon ECS services.
CodeDeploy can deploy application content that runs on a server and is stored in Amazon S3 buckets, GitHub repositories, or Bitbucket repositories. CodeDeploy can also deploy a serverless Lambda function. You do not need to make changes to your existing code before you can use CodeDeploy.
CodeDeploy makes it easier for you to:
Rapidly release new features.
Update AWS Lambda function versions.
Avoid downtime during application deployment.
Handle the complexity of updating your applications, without many of the risks associated with error-prone manual deployments.
The service scales with your infrastructure so you can easily deploy to one instance or thousands.
Tasks
Task 1: Deploy index.html file on EC2 machine using nginx (you have to set up a CodeDeploy agent to deploy code on EC2)
You can refer to this link to understand how to utilize the AWS CodeCommit and CodeBuild services: https://hashnode.com/post/cljcydrhr000c09jp9ygfeenu
Let's create a CodeDeploy application:
Navigate to CodeDeploy > Applications > Click on Create Application.
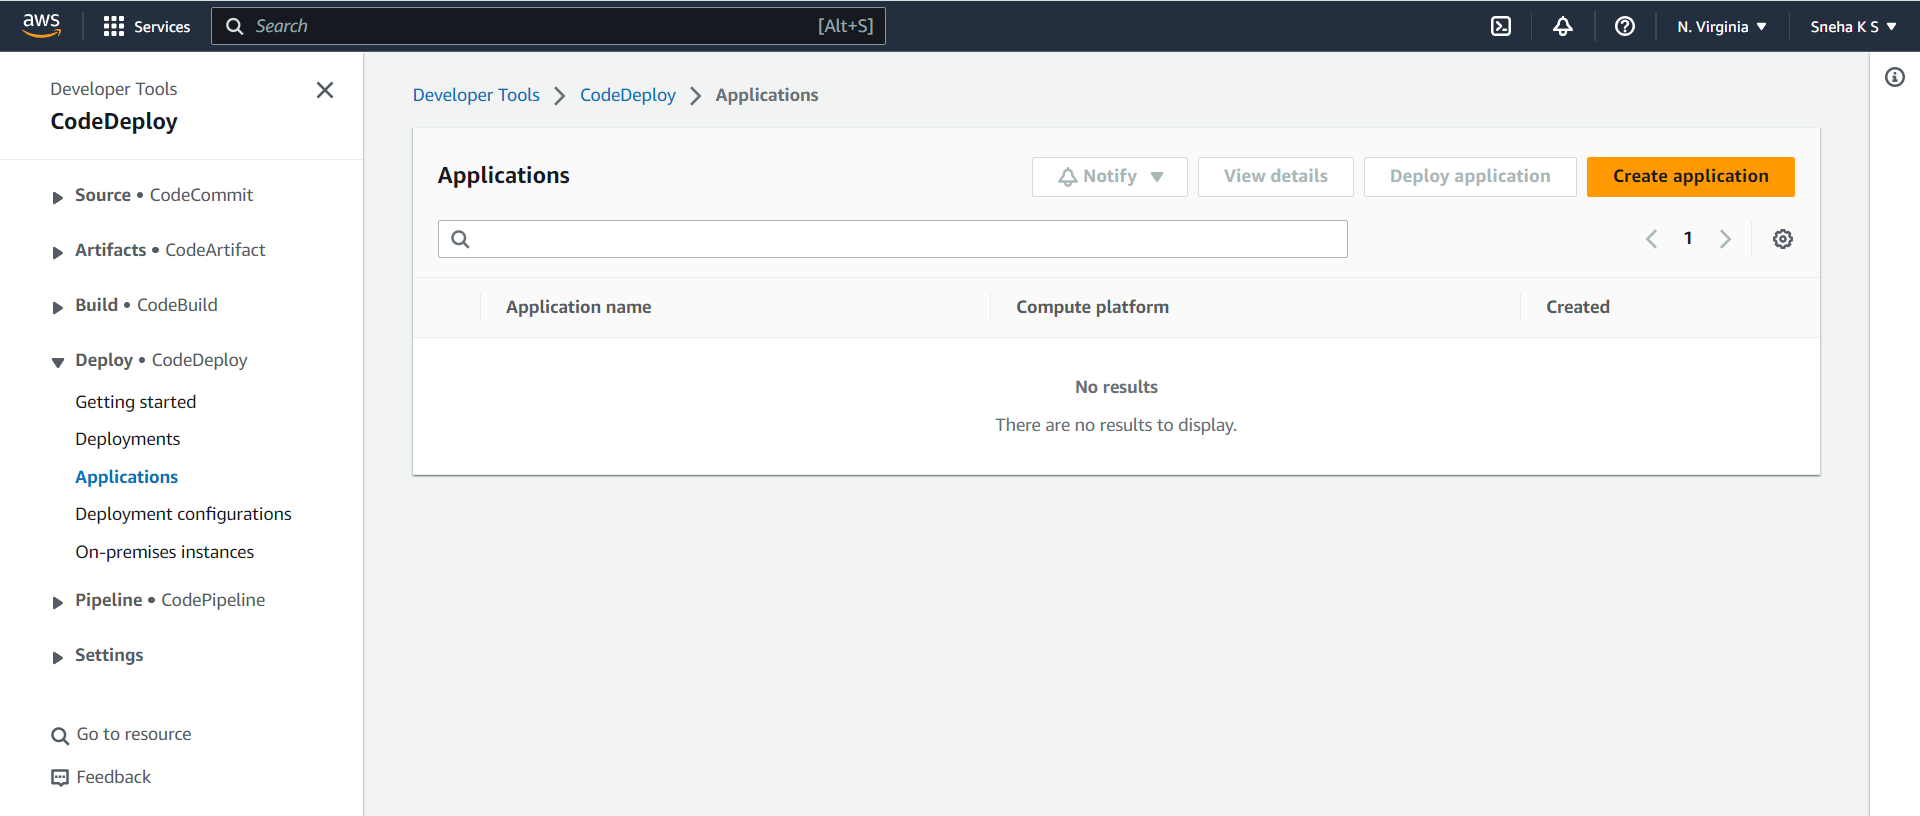
I am giving the below details:

Application Name: app-nginx
Compute platform: EC2/On-premises
And click on Create Application.

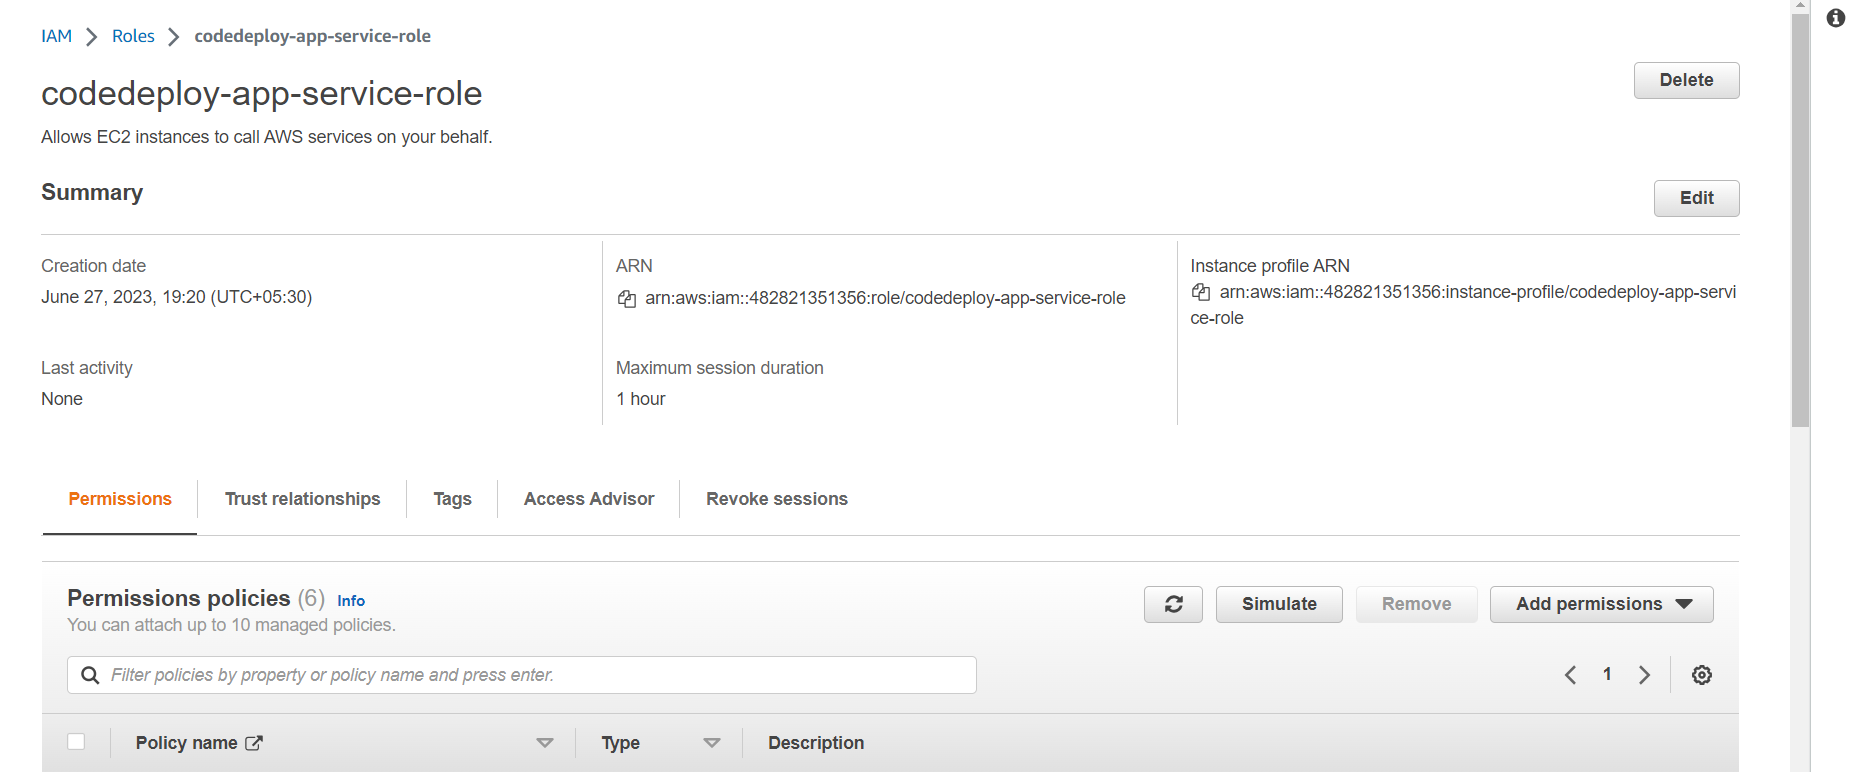
We need to establish connections between CodeDeploy and other AWS services. How do we do it? We can connect the CodeDeploy to other AWS services by creating a service role in the IAM.
Navigate to Roles in IAM. And Create a New Role having these permissions:
AmazonEC2FullAccess, AmazonEC2RoleforAWSCodeDeploy, AmazonS3FullAccess, AWSCodeDeployRole, AWSCodeDeployFullAccess, AmazonEC2RoleforAWSCodeDeployLimited.

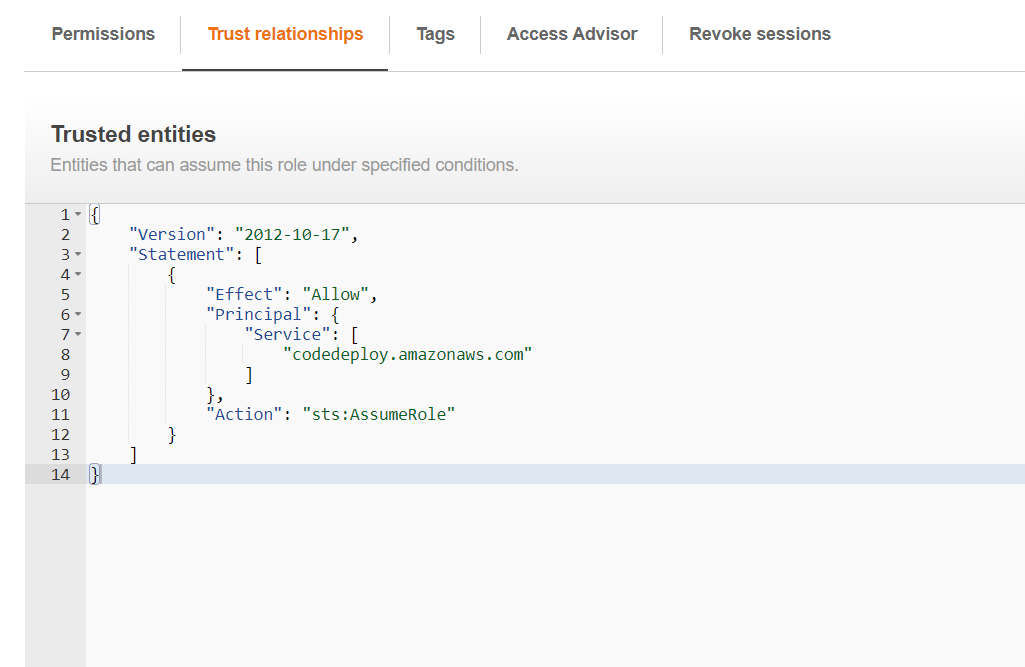
Let us change the trust relationship:
We will need to have an EC2 instance to deploy the index.html file.
Let us create a deployment group:
In the CodeDeploy console > Go to the Deployment Groups Tab > Click on Create deployment group:

Deployment group name: codedeploy-group
Service role: Select the service role which you created previously with all the permissions.
Deployment type: In-place
Environment configuration: Select Amazon EC2 instances. Select the key and value to select the EC2 instance you created for this activity.

Install AWS CodeDeploy Agent: Never
Disable load balancing.
And click on create deployment group.

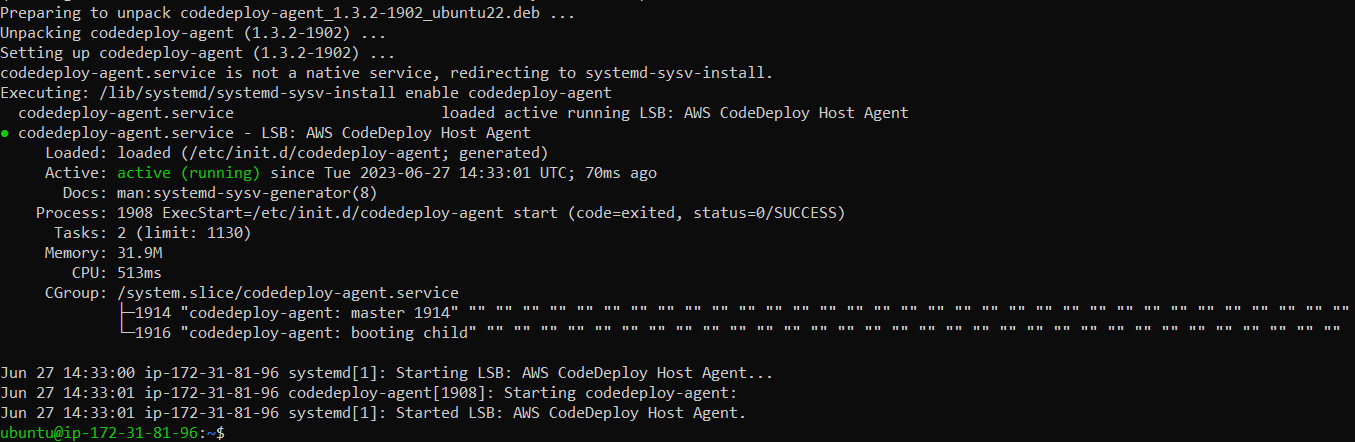
Now let us set up a CodeDeploy agent to deploy code on EC2.
The AWS CodeDeploy agent is a software package that is installed on instances in an Amazon EC2 Auto Scaling group or an Amazon EC2 instance. It enables the deployment of applications to these instances by interacting with the AWS CodeDeploy service.
Install the CodeDeploy agent on your EC2 instance using the installation script.
#!/bin/bash
sudo apt-get update
sudo apt-get install ruby-full ruby-webrick wget -y
cd /tmp
wget https://aws-codedeploy-us-east-1.s3.us-east-1.amazonaws.com/releases/codedeploy-agent_1.3.2-1902_all.deb
mkdir codedeploy-agent_1.3.2-1902_ubuntu22
dpkg-deb -R codedeploy-agent_1.3.2-1902_all.deb codedeploy-agent_1.3.2-1902_ubuntu22
sed 's/Depends:.*/Depends:ruby3.0/' -i ./codedeploy-agent_1.3.2-1902_ubuntu22/DEBIAN/control
dpkg-deb -b codedeploy-agent_1.3.2-1902_ubuntu22/
sudo dpkg -i codedeploy-agent_1.3.2-1902_ubuntu22.deb
systemctl list-units --type=service | grep codedeploy
sudo service codedeploy-agent status

bash install_codedeploy_agent.sh
We can see that the CodeDeploy agent is installed and running successfully.
Let us create an index.html file. I am using my previous day's tasks index.html file.
Task 2: Add appspec.yaml file to CodeCommit Repository and complete the deployment process.
Let us create an appspec.yml file to deploy index.html on nginx. Also we will create two scripts for installing and starting nginx.
The contents of the appspec.yml file would look like:
version: 0.0
os: linux
files:
  - source: /
    destination: /var/wwiw/html
hooks:
  AfterInstall:
    - location: scripts/install_nginx.sh
      timeout: 300
      runas: root
  ApplicationStart:
    - location: scripts/start_nginx.sh
      timeout: 300
      runas: root

Let us push all the files to our CodeCommit repo.

Now let us build the project using CodeBuild. While building select the S3 for Artifacts and also enable artifact packaging (.zip).

Click on Create Build project.
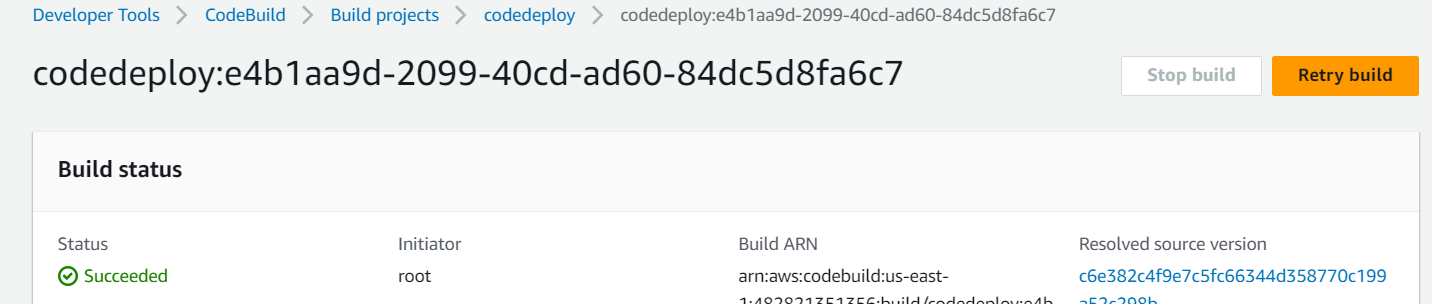
We can see that our build is succeeded.
Now go to the S3 and copy the location where the .zip file is located.


Before that, I will have to create a Service role named new-service-role-for-ec2-s3-codedeploy for the EC2, S3, and CodeDeploy to communicate with each other, with the following permissions: AmazonEC2FullAccess, AmazonS3FullAccess, AWSCodeDeployFullAccess.
We will have to attach this role to our EC2 instance.

Now go to Deployment Groups > For the group which we created before > Revision type, S3, and paste the above S3 URL:

And click on Create the Deployment.
Once the deployment is successful, you should be able to reach it the output file of index.html.
In this blog, I have created a repository in CodeCommit, cloned it to the local, and pushed the files from local to the CodeCommit. Then using the CodeBuild, build the application using the Nginx server and upload the artifacts to S3. CodeDeploy can deploy application content that runs on a server and is stored in Amazon S3 buckets, GitHub repositories, or Bitbucket repositories. CodeDeploy can also deploy a serverless Lambda function.
I haven't been really consistent with the blogs for the past two weeks, and I am trying to get back on track. Thank you for always supporting and reading my blogs.
If you have any questions or want to share your experiences, please comment below. Don't forget to read my blogs and connect with me on LinkedIn and let's have a conversation.
To help me improve my blog and correct my mistakes, I am available on LinkedIn as Sneha K S. Do reach me, and I am open to suggestions and corrections.
#Day52 #90daysofdevops


