Table of contents
- Task 1: Launch an EC2 instance using the AWS Management Console and connect to it using SSH. Install a web server on the EC2 instance and deploy a simple web application. Monitor the EC2 instance using Amazon CloudWatch and troubleshoot any issues that arise.
- Task 2: Create an Auto Scaling group using the AWS Management Console and configure it to launch EC2 instances in response to changes in demand. Use Amazon CloudWatch to monitor the performance of the Auto Scaling group and the EC2 instances and troubleshoot any issues that arise. Use the AWS CLI to view the state of the Auto Scaling group and the EC2 instances and verify that the correct number of instances are running.
- Create an Auto Scaling group using the AWS Management Console and configure it to launch EC2 instances in response to changes in demand
- Use Amazon CloudWatch to monitor the performance of the Auto Scaling group and the EC2 instances and troubleshoot any issues that arise
- Use the AWS CLI to view the state of the Auto Scaling group and the EC2 instances and verify that the correct number of instances are running.
In this blog, we will be testing the AWS knowledge on services provided by AWS.
Let's dive right into tasks.
Task 1: Launch an EC2 instance using the AWS Management Console and connect to it using SSH. Install a web server on the EC2 instance and deploy a simple web application. Monitor the EC2 instance using Amazon CloudWatch and troubleshoot any issues that arise.
Launch an EC2 instance using the AWS Management Console and connect to it using SSH
Go to AWS Management Console > Search and navigate to EC2 > Click on Launch Instances > Give the name of your EC2 (here it is test-aws) > Select the AMI (Ubuntu here)
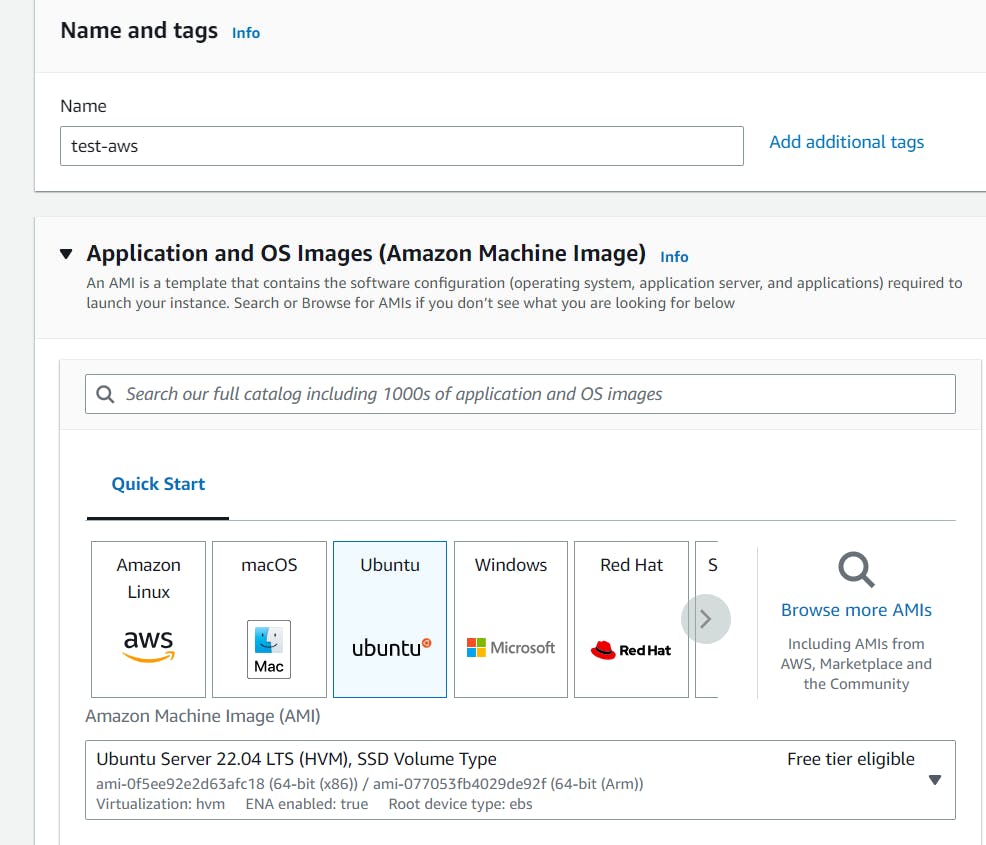
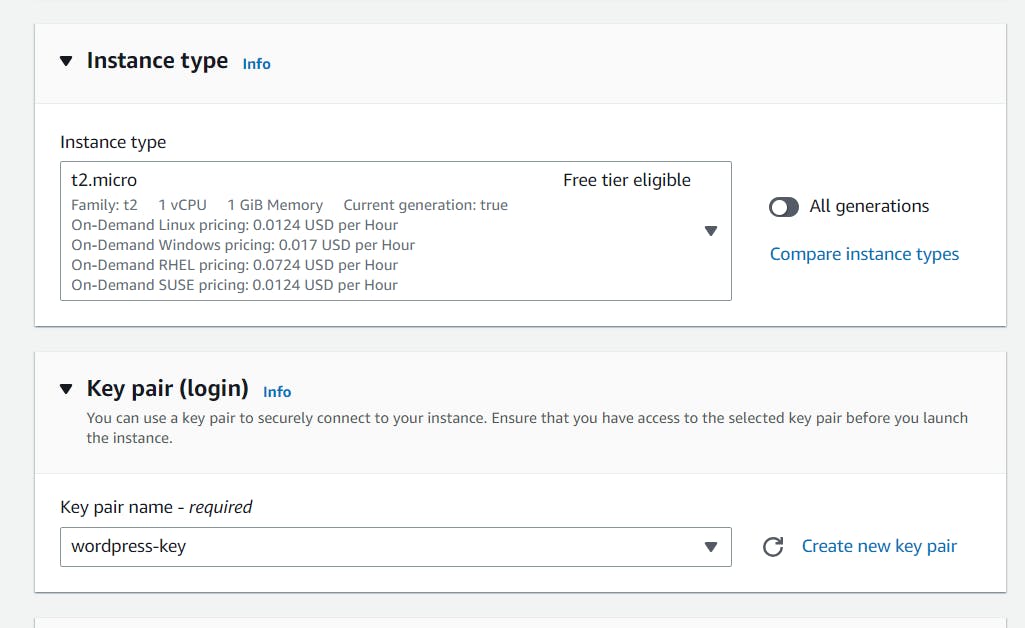
\> Let the Instance type be default > Create new Key Pair if you don't have or else select the one you have
\> Under Network Settings check the box for both "Allow HTTPS traffic from the Internet" and "Allow HTTP traffic from the Internet" > Under Summary click on Launch Instances.
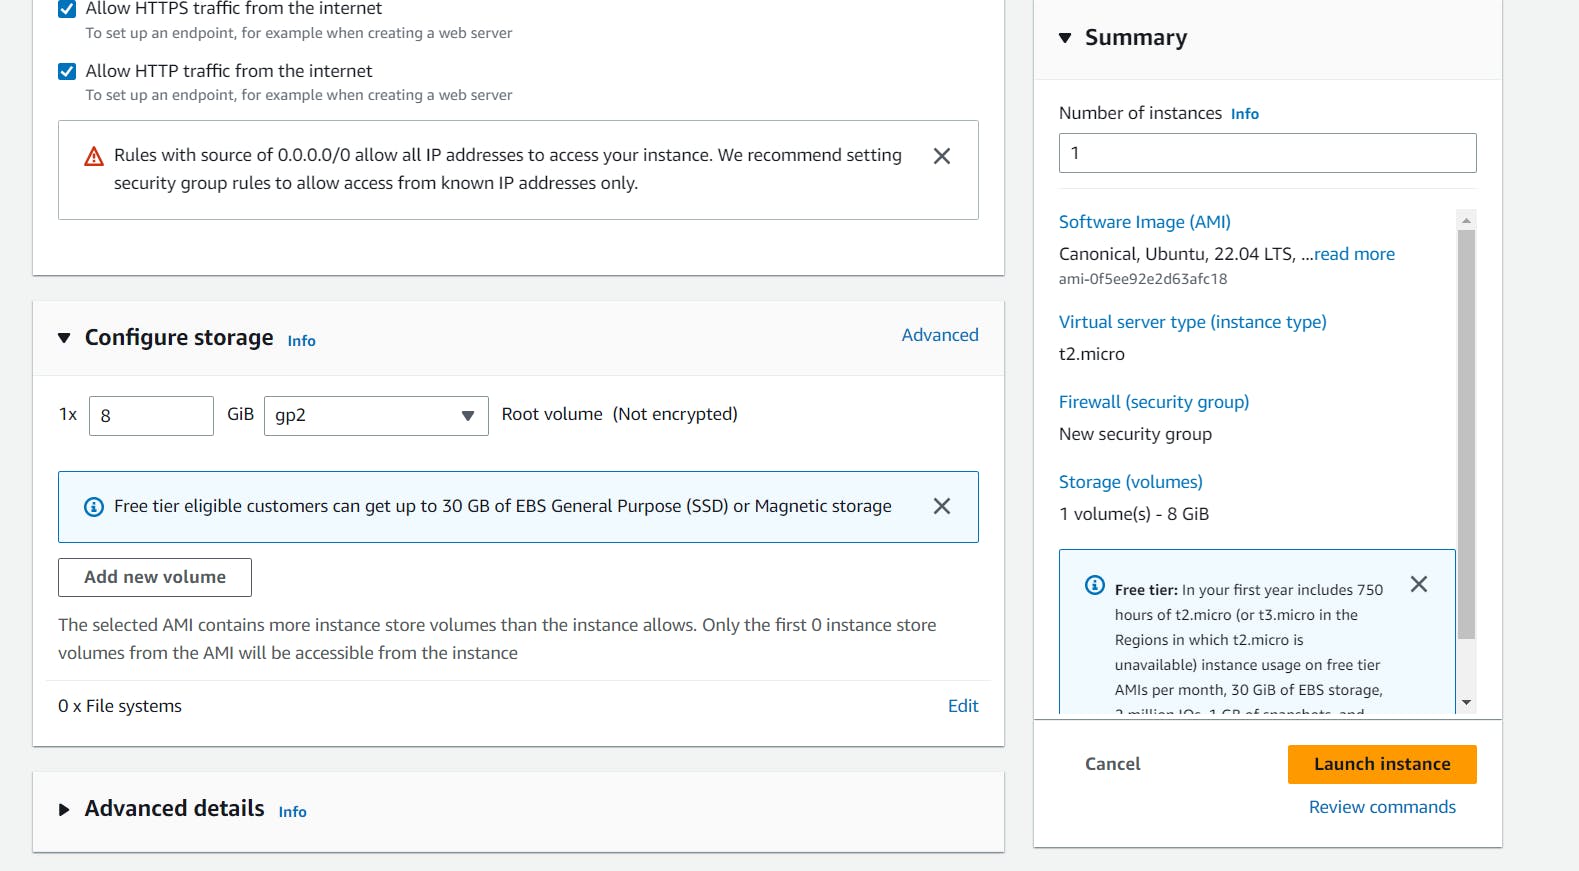
You should be able to see the Instances in the EC2 instances console, up and running within 1 to 2 mins.

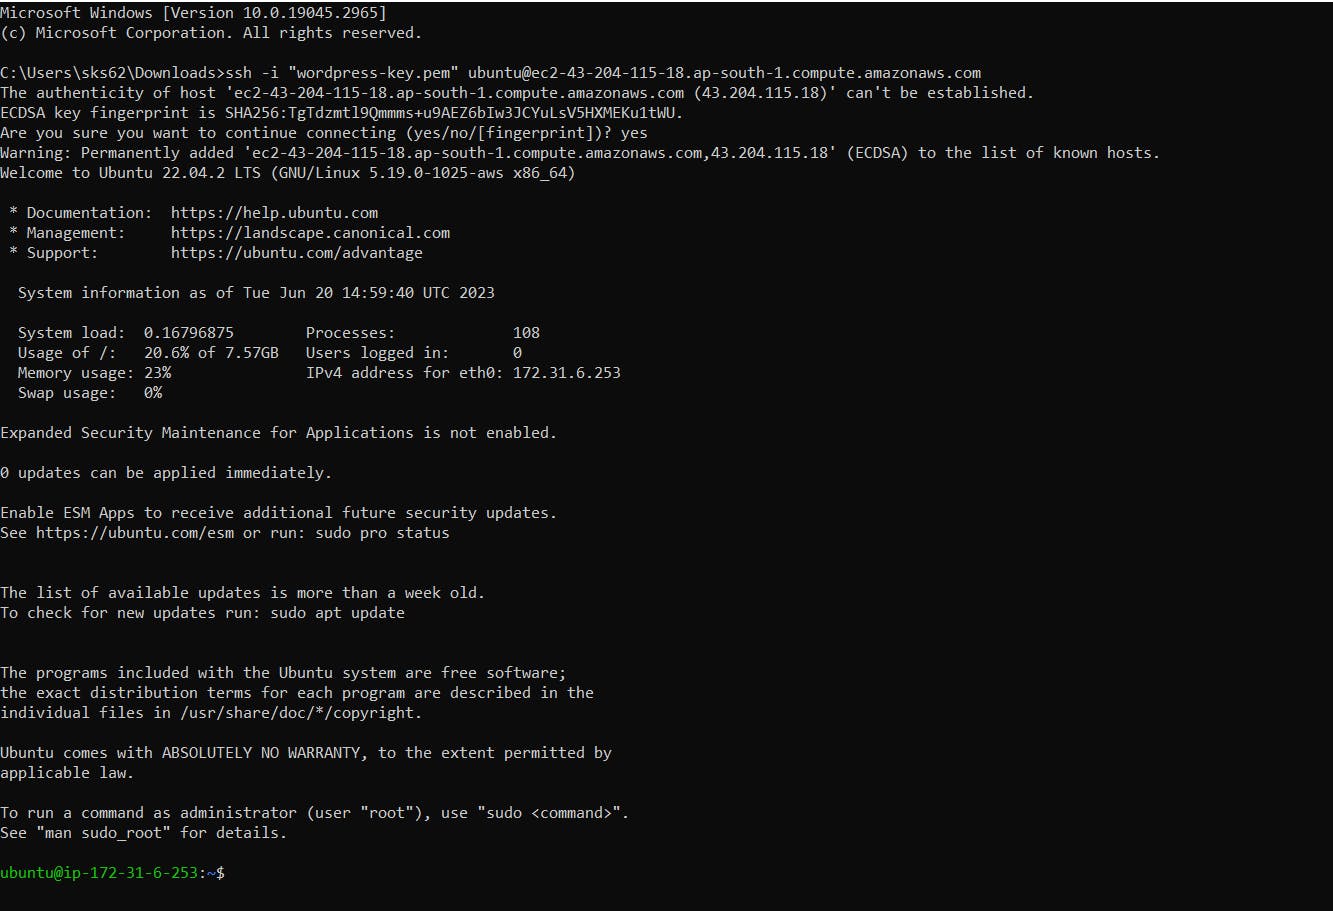
Select the instance and click on connect > Go to the SSH Client tab & copy the command to connect to your instance via SSH > In your command line, where your key-pair file is present run the command to get connected to the instance.
Install a web server on the EC2 instance and deploy a simple web application.
Update the instance with the latest packages and security patches, using:
sudo apt-get update -y
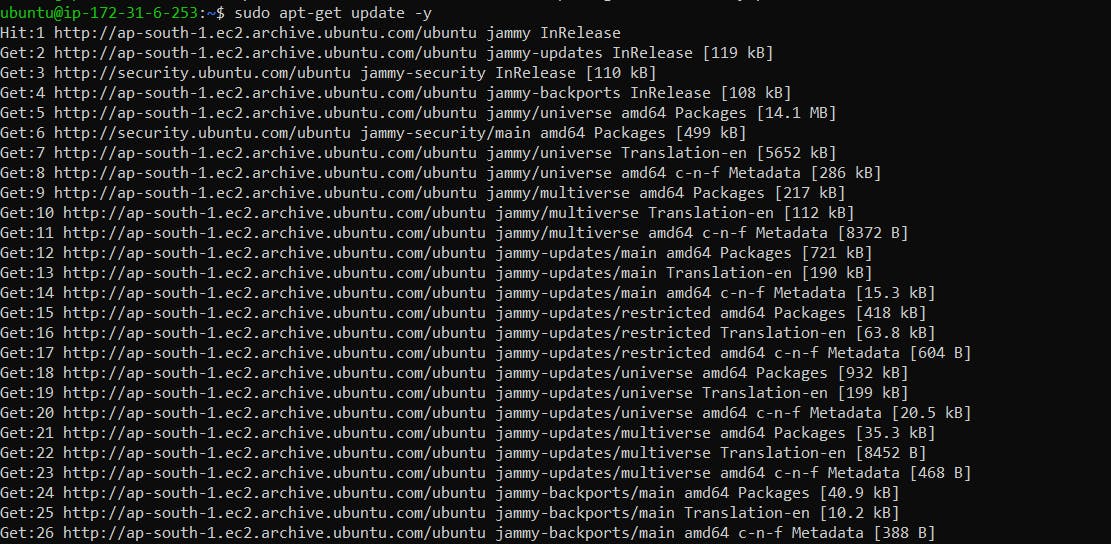
Let us install an Apache web server, using:
sudo apt-get install apache2 -y
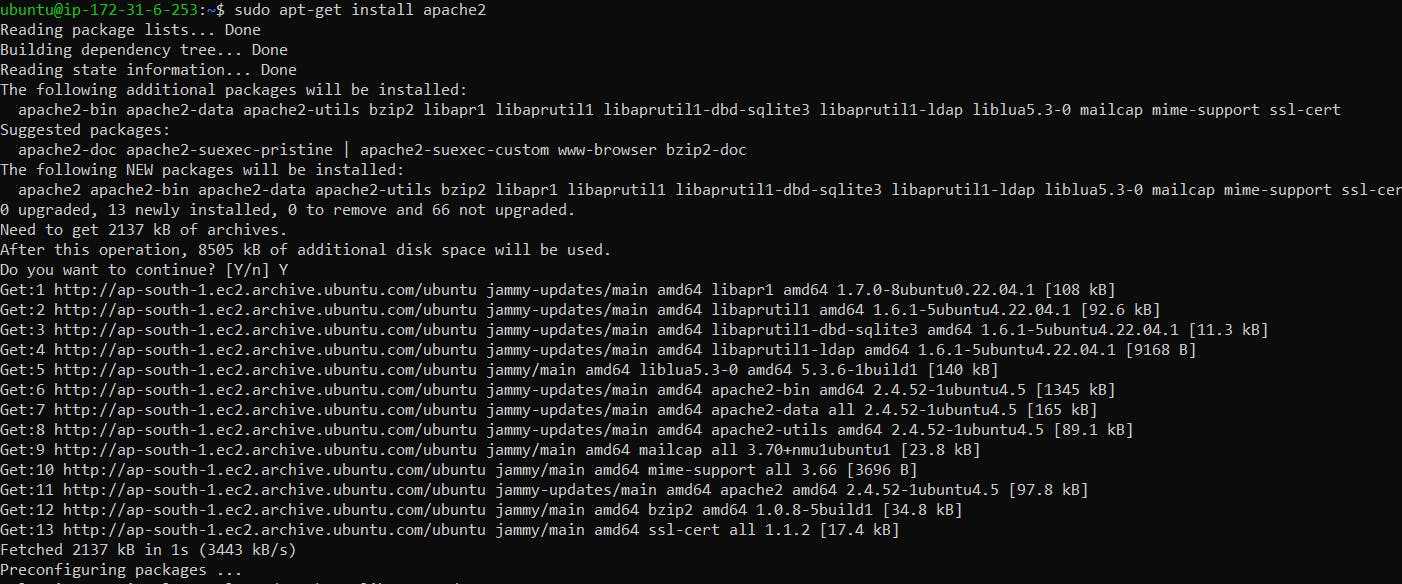
Let us start this service using:
sudo systemctl start apache2
sudo systemctl status apache2
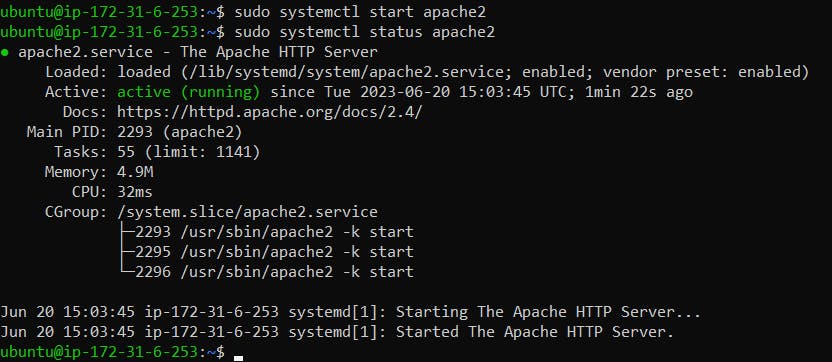
Let us try connecting to this Web server using the Public IPv4 of the instance.
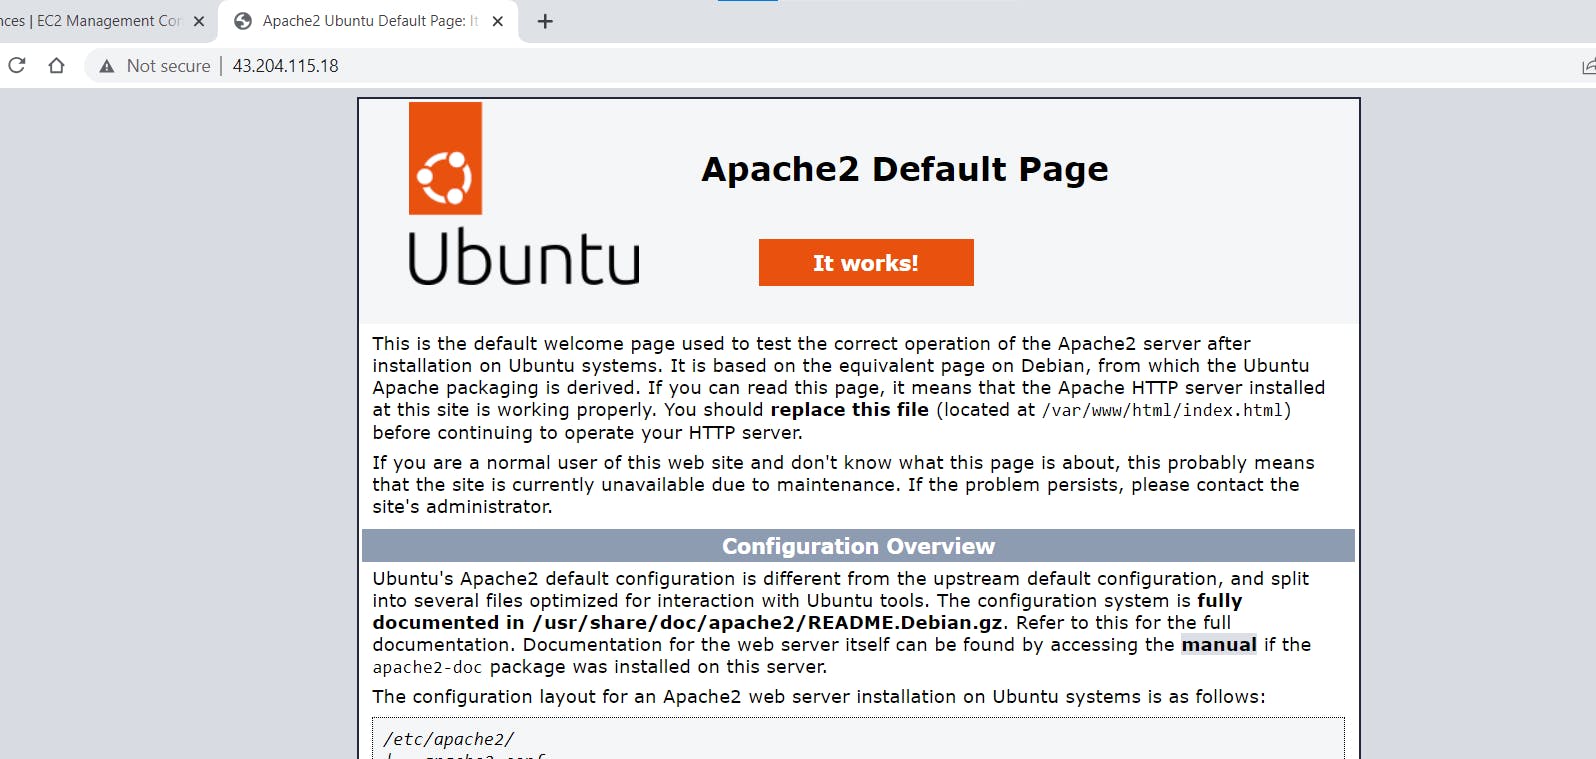
And yay! We can connect to the server!
Let us deploy a sample application on this server.
Go to the /var/www/html directory where the index.html file is present.
cd /var/www/html
ls

Replace the contents of the index.html file with:
<!DOCTYPE html>
<html>
<head>
<title>New Application - Apache</title>
</head>
<body>
<h1>Hello, world! This is my sample application</h1>
<h2>I am a DevOps Enthusiast</h2>
</body>
</html>
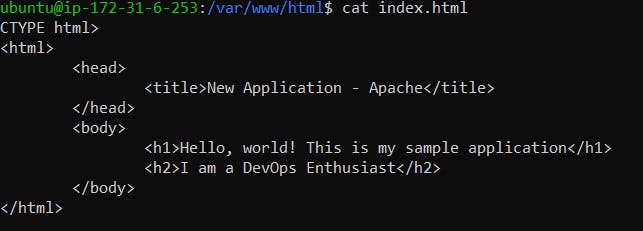
Restart the web server using the:
sudo systemctl restart apache2
And using the Public IPv4 of the Instance, you can verify that you have successfully deployed:

Monitor the EC2 instance using Amazon CloudWatch and troubleshoot any issues that arise
To use the CloudWatch service, you should enable a few important things in the Billing preferences. Here's the link on how to do the same.
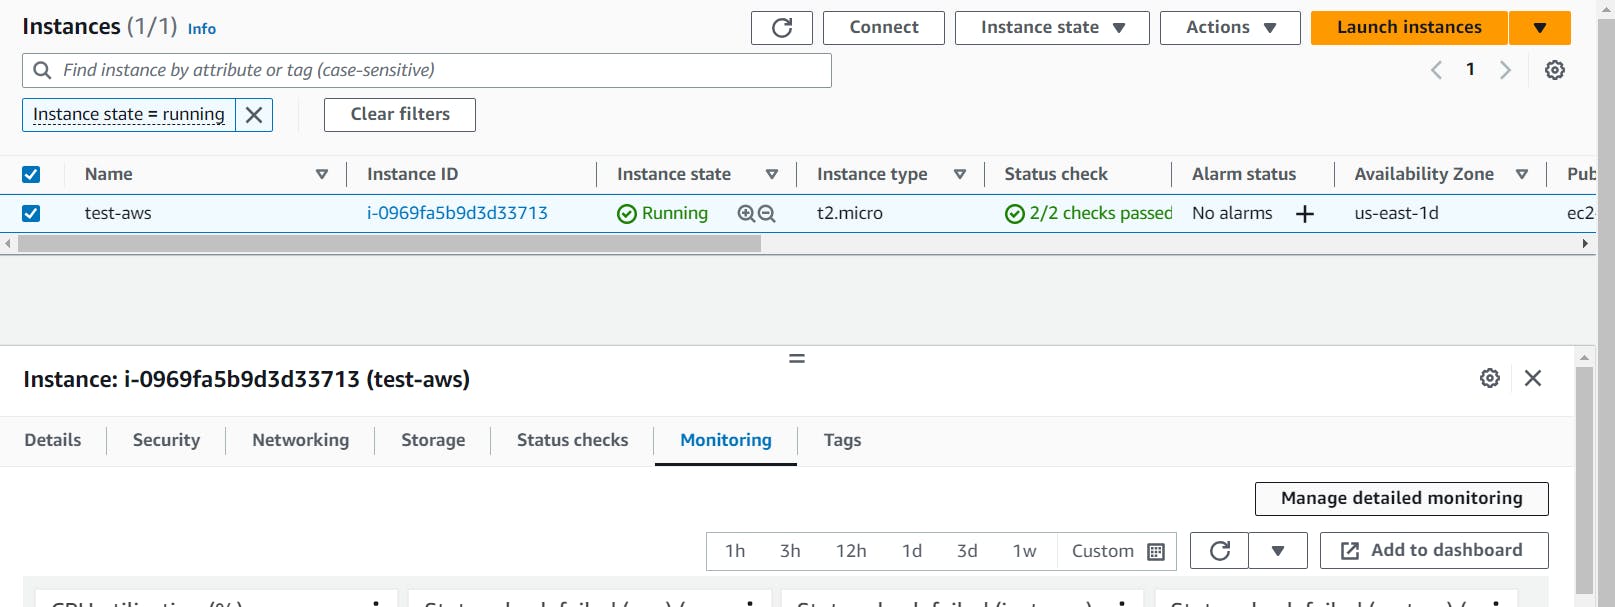
In your EC2 Console > Select the Instance you want to monitor > Go to the Monitoring Tab > Click on Manage Detailed Monitoring
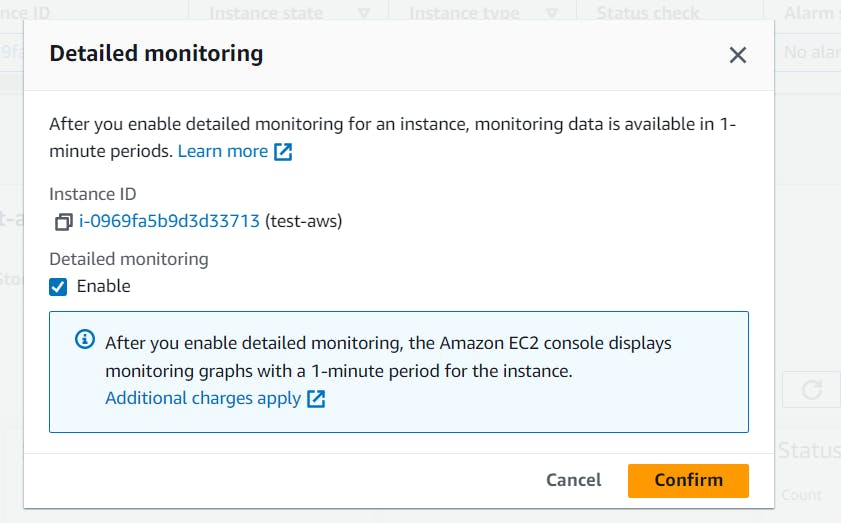
Enable the Detailed Monitoring in the pop-up and click on Confirm.
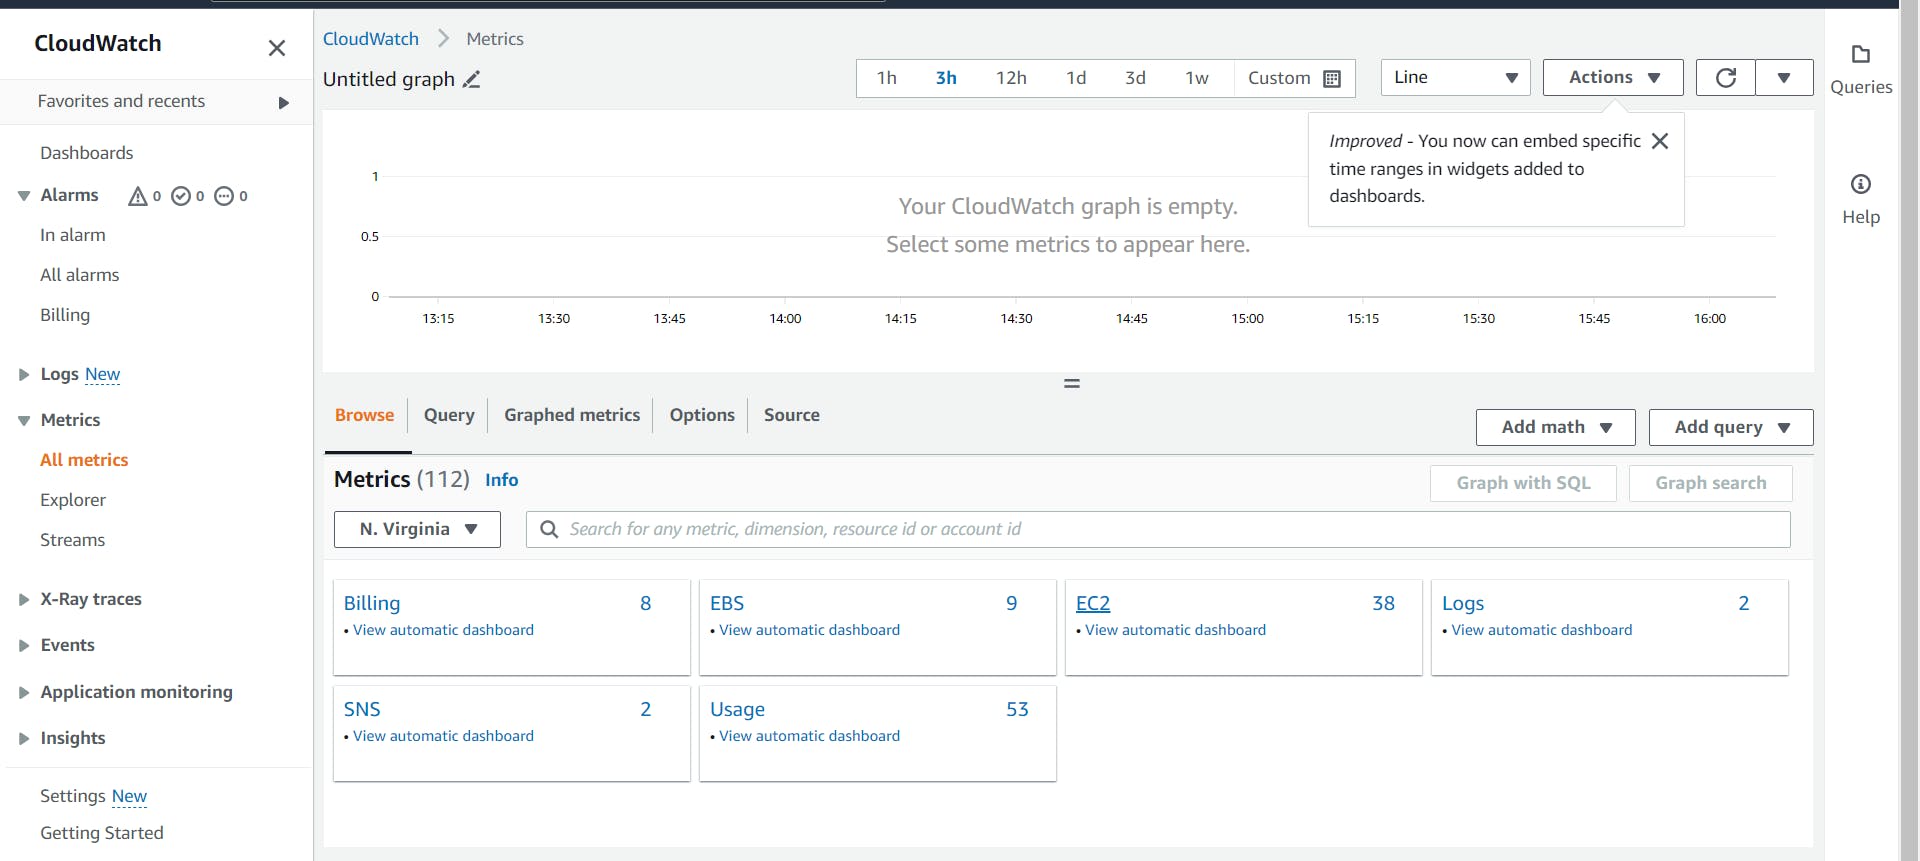
Once done, Navigate to CloudaWatch > Metrics > All Metrics > Select EC2
Click on Per-Instance Metrics > And select the Metrics you want to monitor > I am selecting CPU Utilization.
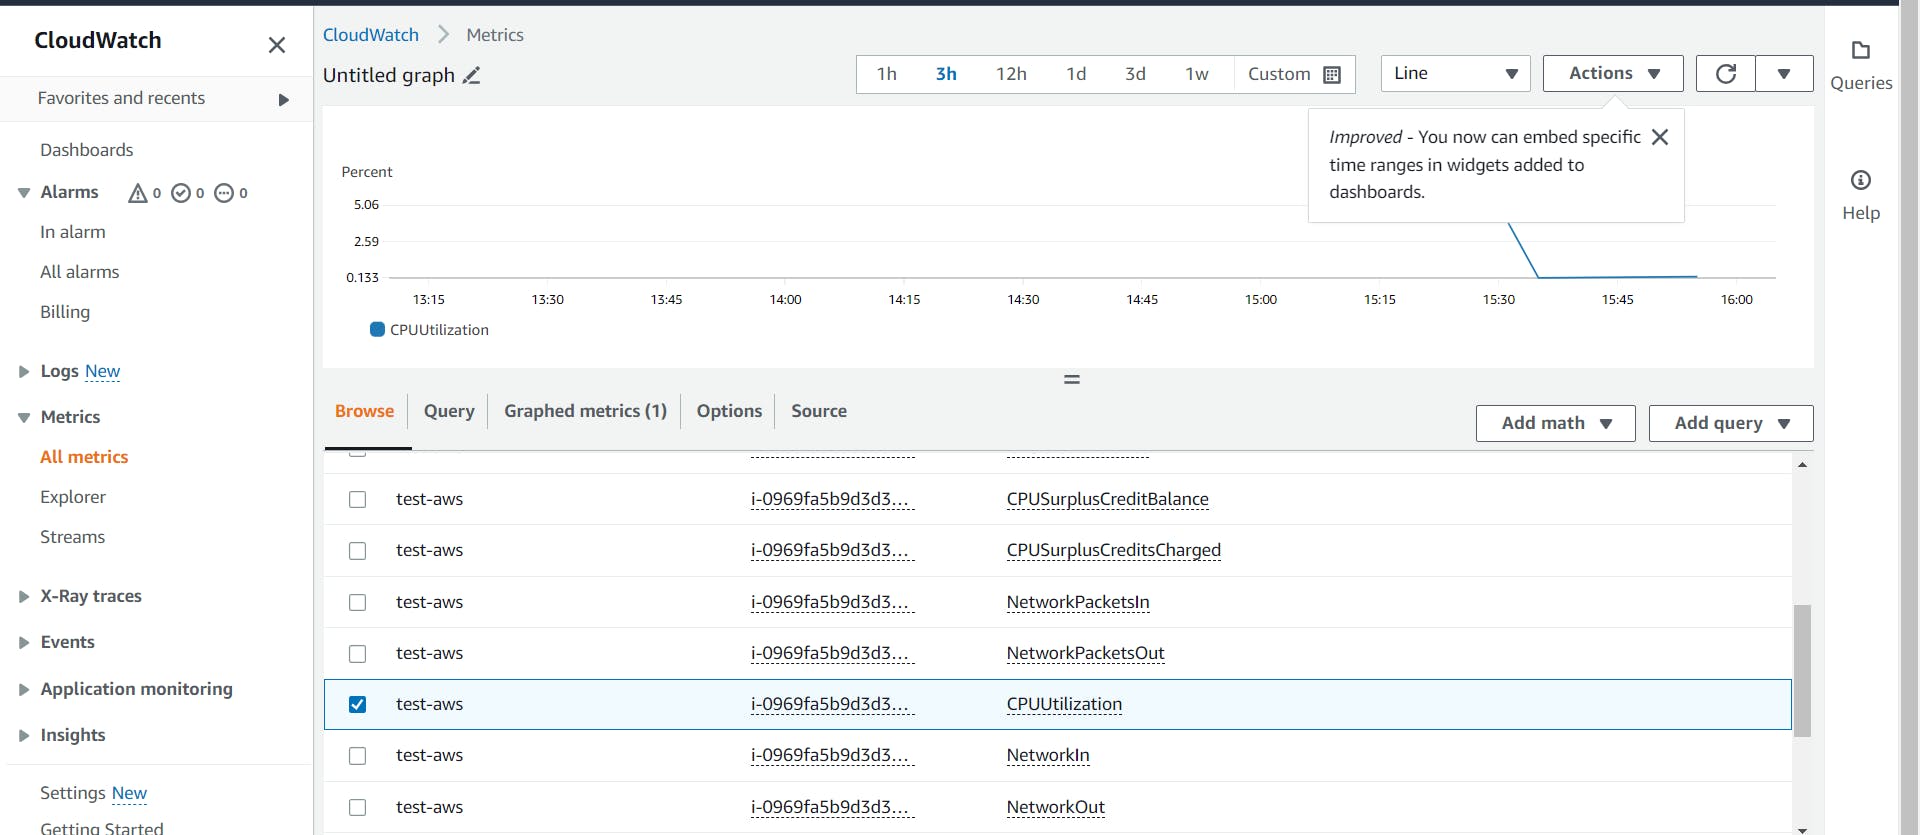
Now let us create the Alarm.
Go to Alarms > All Alarms > Create Alarm > Select Metric > Select EC2 > Select Per Instance Metrics > Select the CPU Utilization > Click on Select Metric
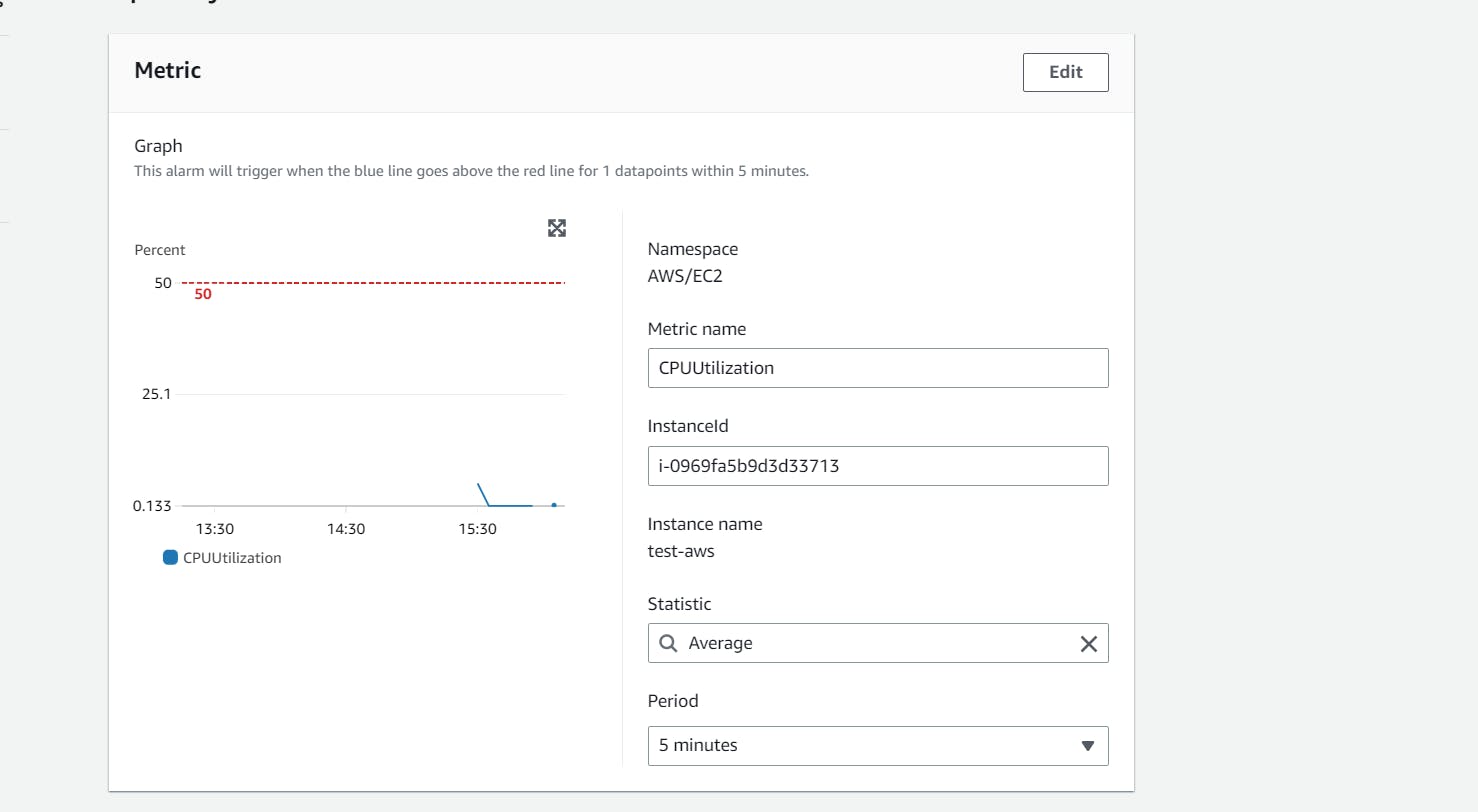
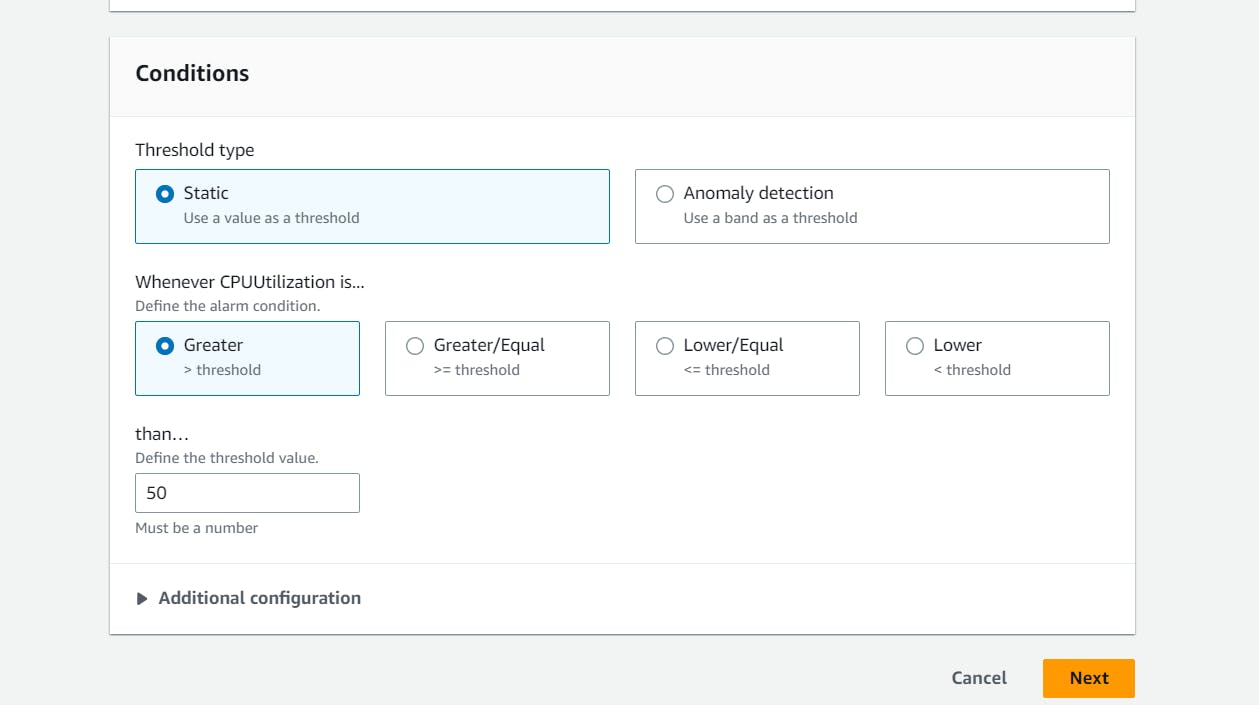
Under conditions, select the Threshold value to be greater than 50 > Click on Next.
Set up the SNS topic and create an alarm. I am naming test-alarm.

So when you go beyond the threshold, you will receive an alarm.
Task 2: Create an Auto Scaling group using the AWS Management Console and configure it to launch EC2 instances in response to changes in demand. Use Amazon CloudWatch to monitor the performance of the Auto Scaling group and the EC2 instances and troubleshoot any issues that arise. Use the AWS CLI to view the state of the Auto Scaling group and the EC2 instances and verify that the correct number of instances are running.
Create an Auto Scaling group using the AWS Management Console and configure it to launch EC2 instances in response to changes in demand
Let us Create a Launch Template from our existing EC2 instance.
Go to EC2 Console > Select the EC2 Instance > Actions > Image and templates > Create a template from the instance.

Let the Launch template name be new-test-template > Template version description be "Template test launch template" > Click on Create launch template
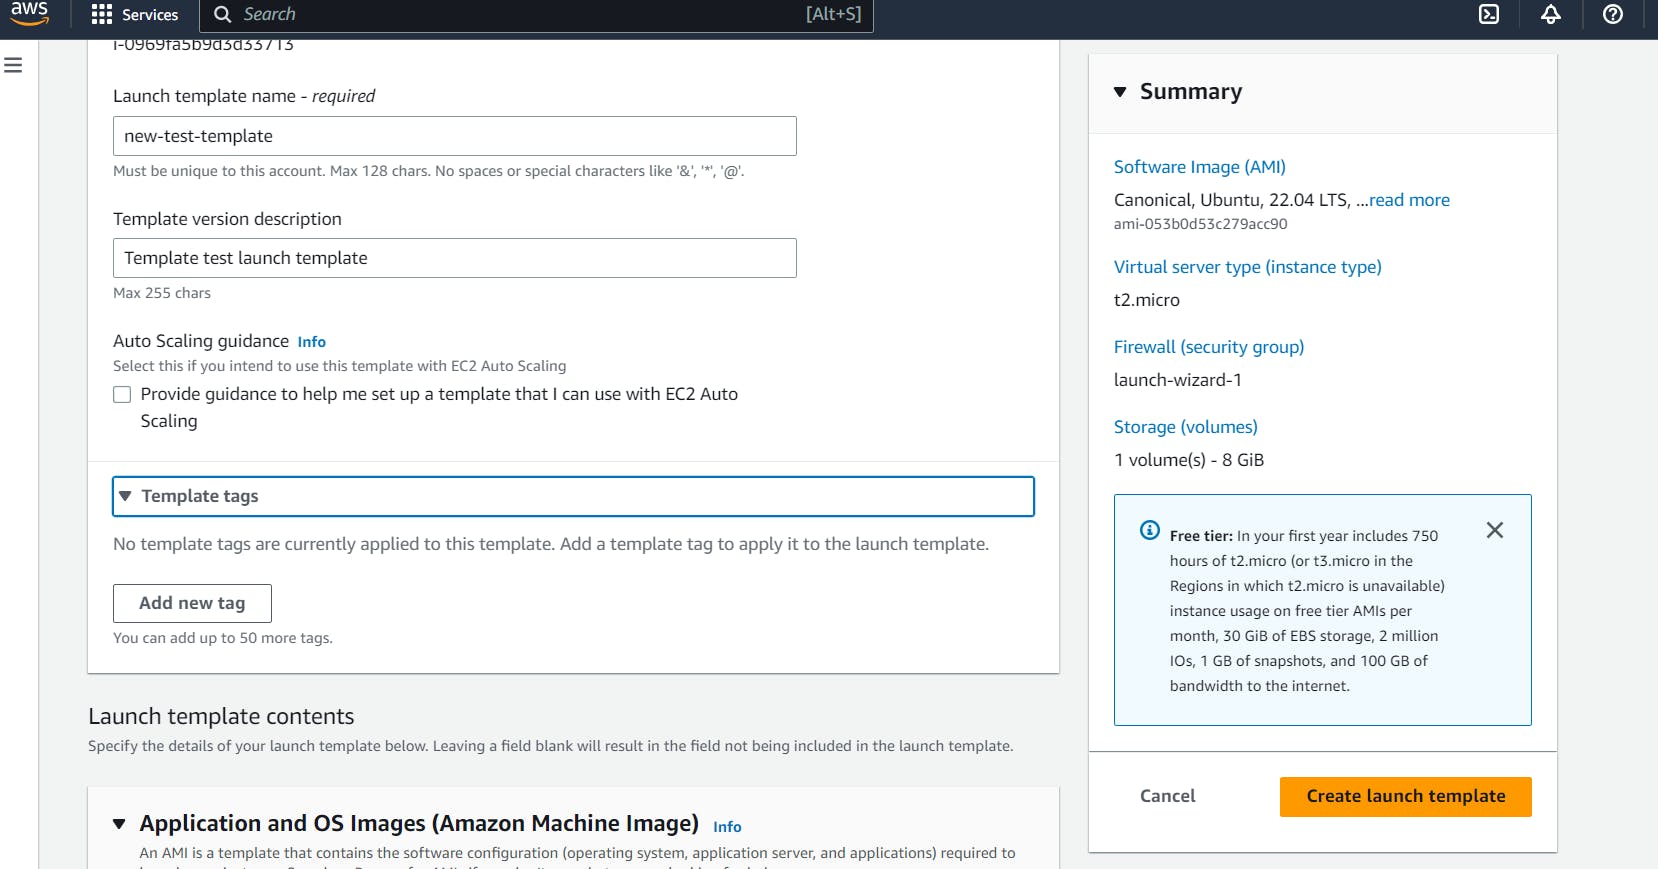
You can verify the template created when it appears in the dashboard:

Go to your EC2 console > Under Auto Scaling > Select Auto Scaling Groups > Create Auto Scaling Groups >
Auto Scaling group name: test-ASG
Launch template: Select the launch template you created
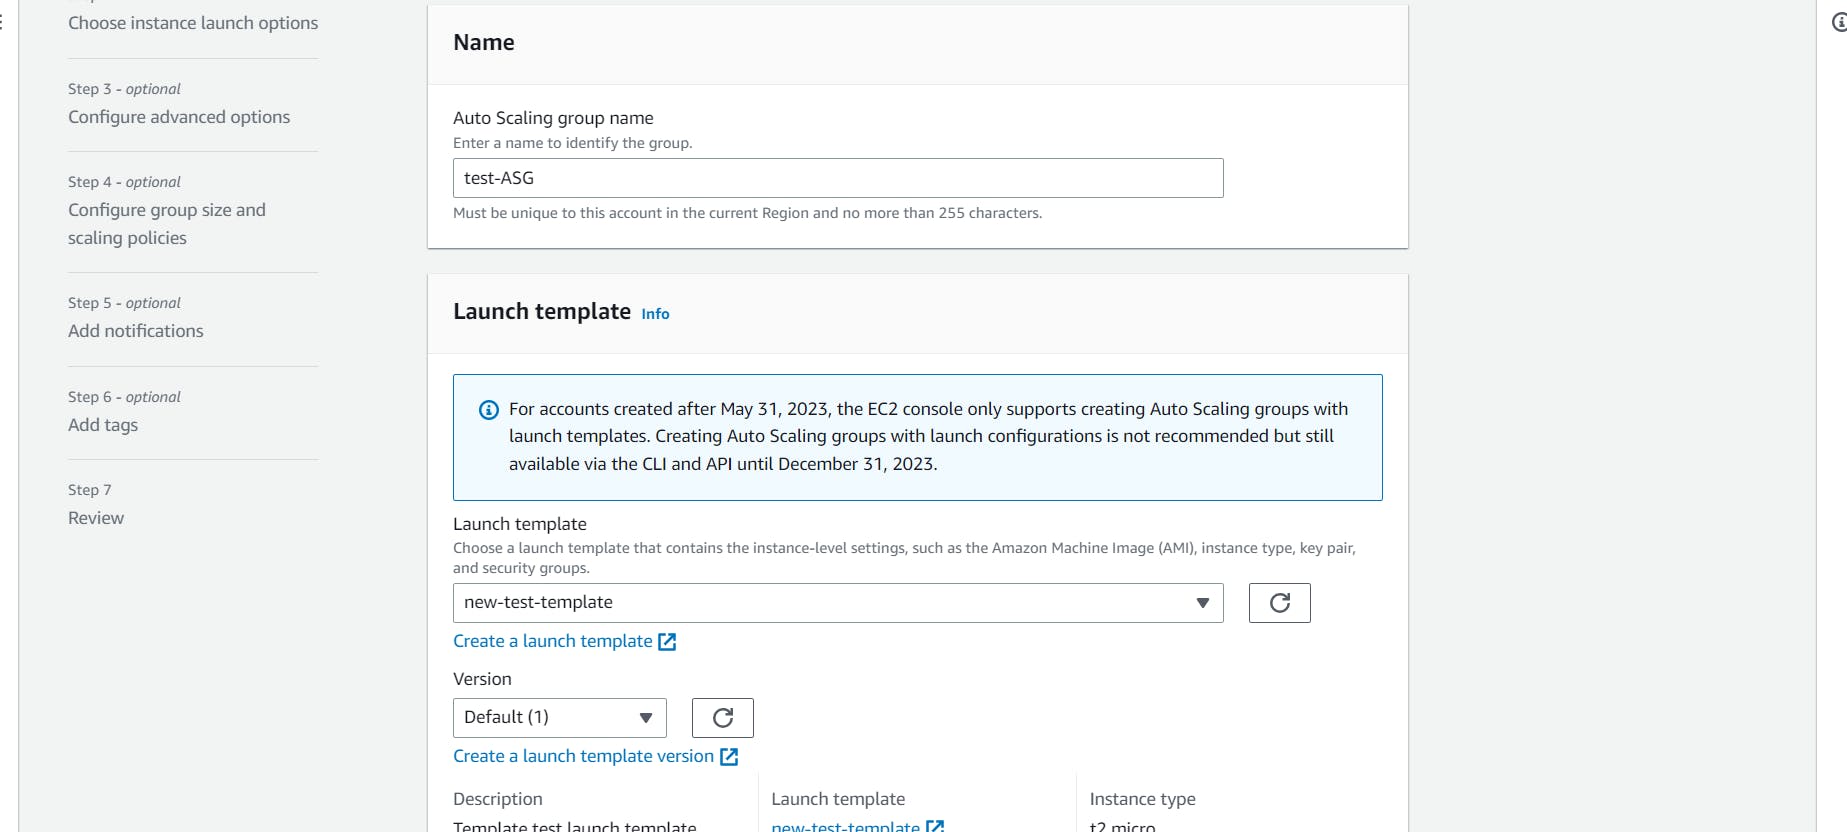
Click on Next.
In the next section > Select a couple of availability zones > Click on Next > Enable Monitoring > Click on Next
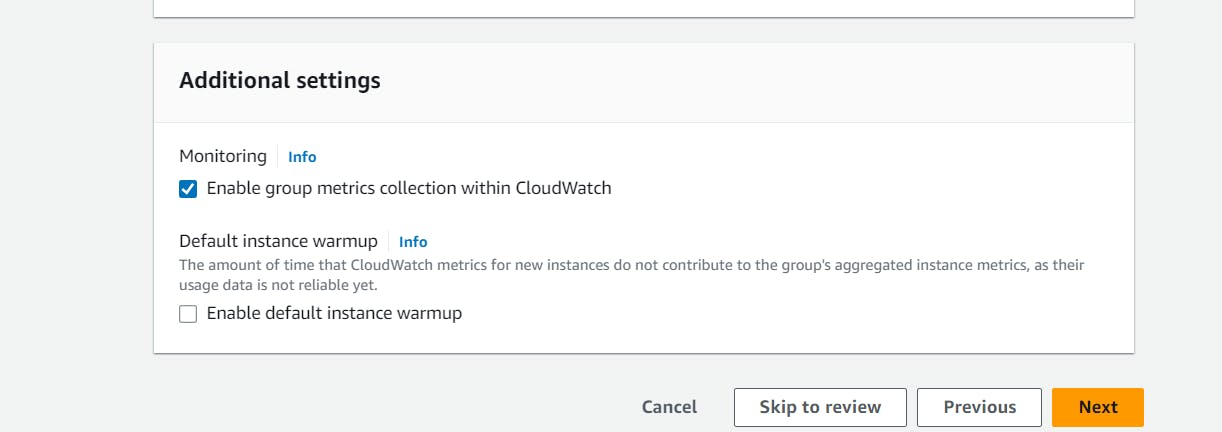
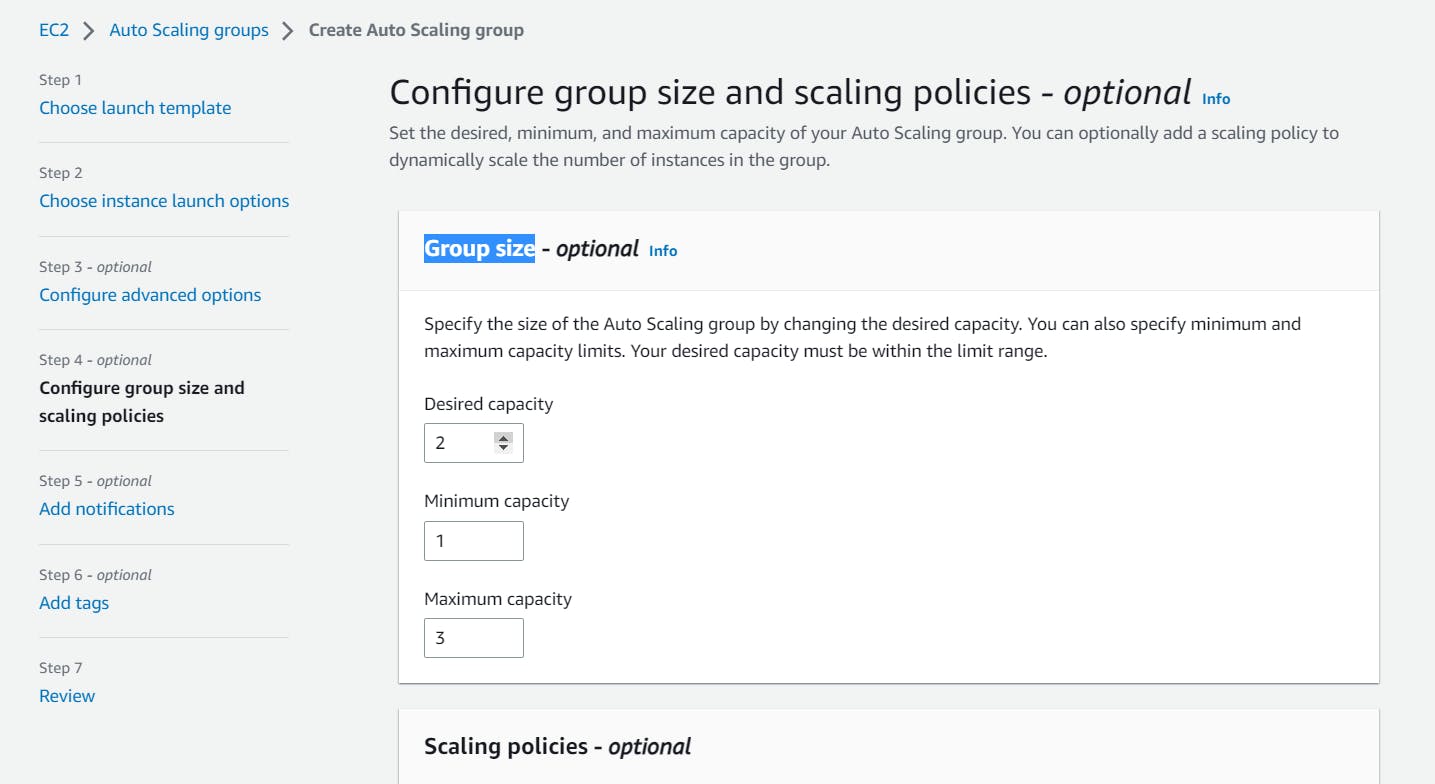
Set the Group size as per your requirement:
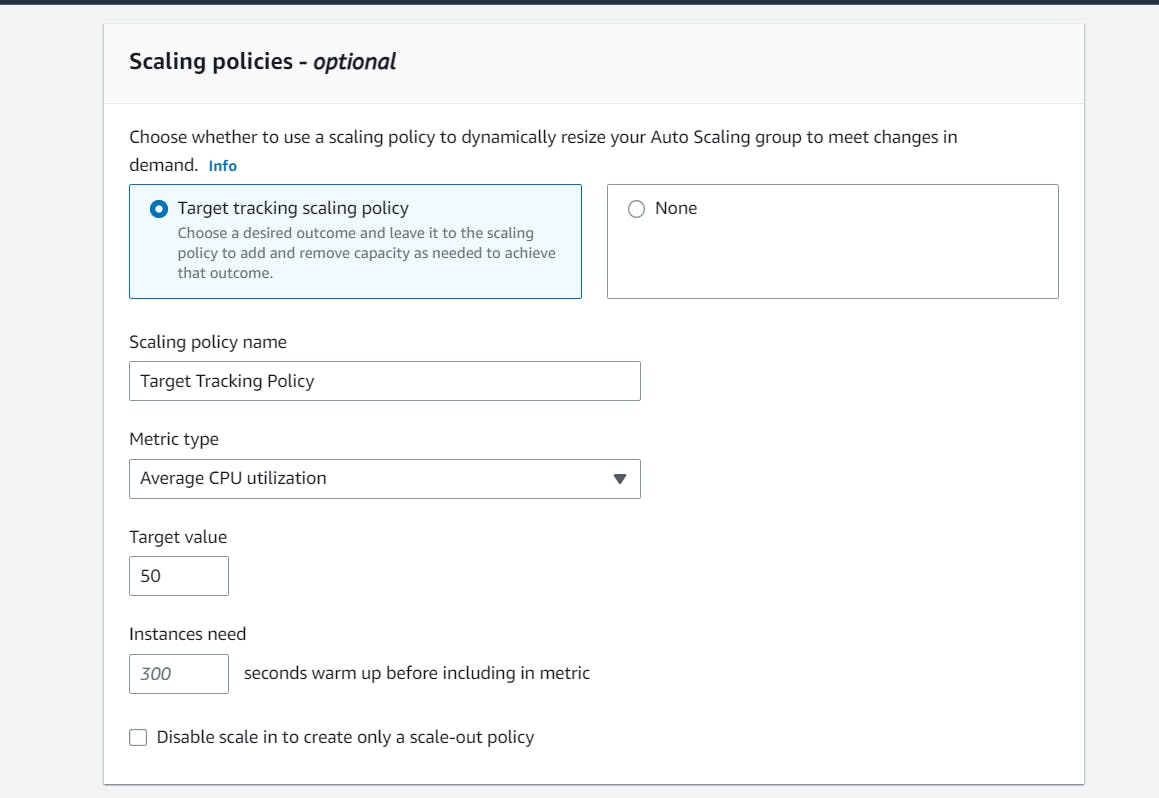
Select Target Tracking Policy > Click on Next
Preview and Create the ASG.

In the EC2 Instances dashboard, you can see that the number of instances is increased to three (as per your requirement).

Use Amazon CloudWatch to monitor the performance of the Auto Scaling group and the EC2 instances and troubleshoot any issues that arise
You can see that the Target tracking policy has created two more alarms:

Go to the ASG we created > Enable ASG Metric.
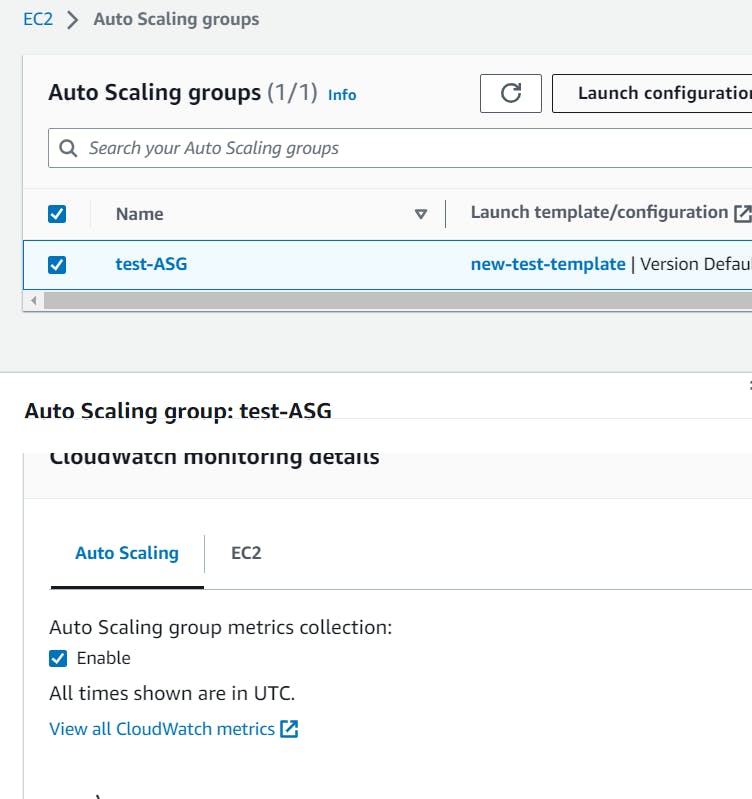
Let us create an Alarm for the same ASG.
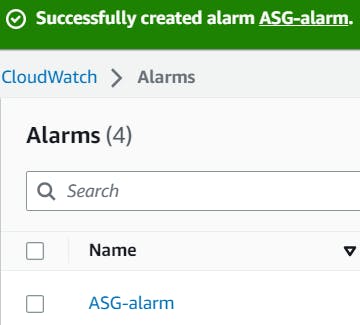
Use the AWS CLI to view the state of the Auto Scaling group and the EC2 instances and verify that the correct number of instances are running.
SSH to your instance and install the AWS CLI using:
sudo apt update
sudo apt-get install awscli
aws --version

Configure your AWS CLI with Access Key ID and Secret Access Key.
aws configure

Let us see the ASGs by using the:
aws autoscaling describe-auto-scaling-groups

Let us verify the ec2 instances:
aws ec2 describe-instances
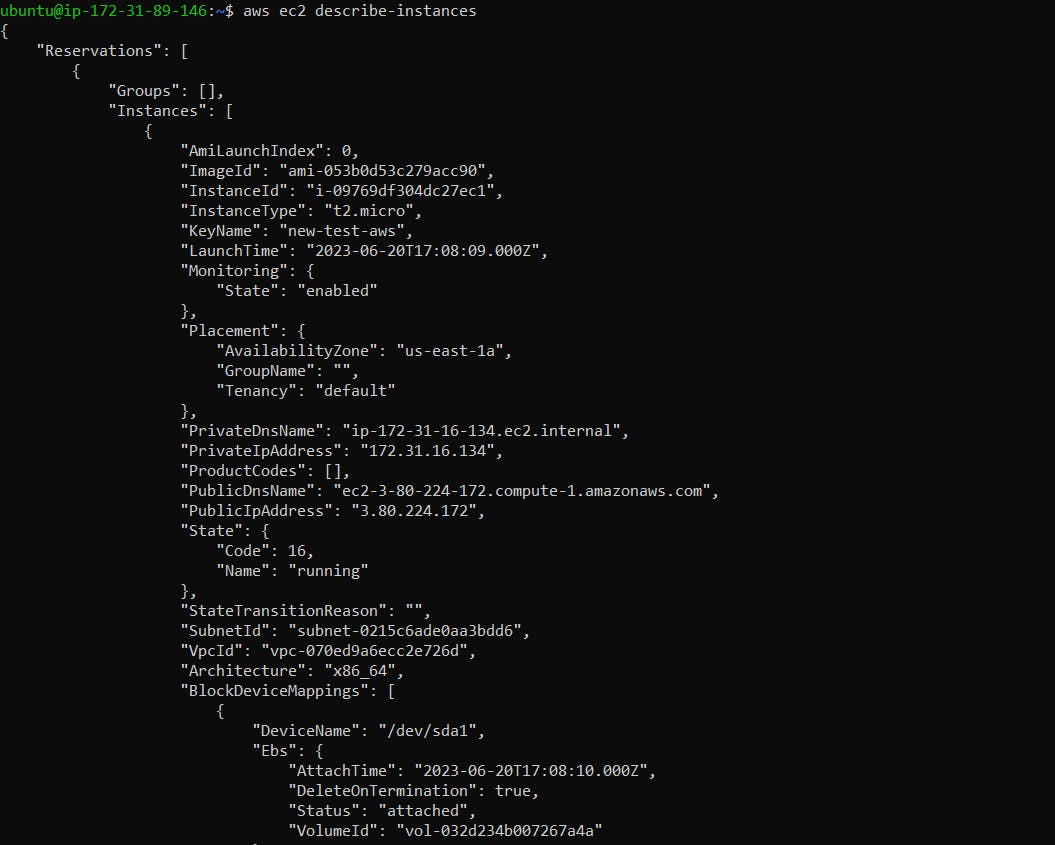
By running this command below, you can check the instances that are there:
aws ec2 describe-instances | grep -w "KeyName"

We can verify that there are 3 Instances from the EC2 console:
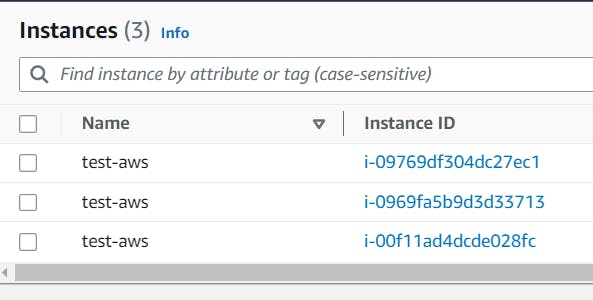
In this blog, I have tested my knowledge of AWS services which I have used previously in the challenge. If you have any questions or want to share your experiences, please comment below. Don't forget to read my blogs and connect with me on LinkedIn and let's have a conversation.
To help me improve my blog and correct my mistakes, I am available on LinkedIn as Sneha K S. Do reach me and I am open to suggestions and corrections.
#Day47 #90daysofdevops
