

In previous blogs, we have dealt with the AWS CLI and accessing S3 and IAM programmatically through CLI. In this blog let us understand the RDS in AWS.
Here's the official documentation for Relational Database Service in AWS.
RDS (Relational Database Service) in AWS
According to the official documentation, "Amazon Relational Database Service (Amazon RDS) is a web service that makes it easier to set up, operate, and scale a relational database in the AWS Cloud. It provides cost-efficient, resizable capacity for an industry-standard relational database and manages common database administration tasks."
RDS offers six database engines:
MySQL: A widely-used open-source relational database management system known for its stability, ease of use, and compatibility.
MariaDB: A community-developed, open-source fork of MySQL, offering similar features and compatibility.
PostgreSQL: An open-source object-relational database management system known for its robustness, extensibility, and support for advanced features.
Oracle: A commercial relational database management system that provides enterprise-level features and capabilities.
SQL Server: A commercial relational database management system developed by Microsoft, offering scalability, security, and integration with Microsoft products.
Amazon Aurora: A MySQL and PostgreSQL-compatible database engine developed by AWS. It offers high performance, scalability, and durability. It is up to five times faster than MySQL.
Some more links that can help:
Let us jump into today's tasks to get our hands dirty and learn some fun things.
Task: Create a Free tier RDS instance of MySQL. Once the RDS instance is up and running, get the credentials and connect your EC2 instance using a MySQL client.
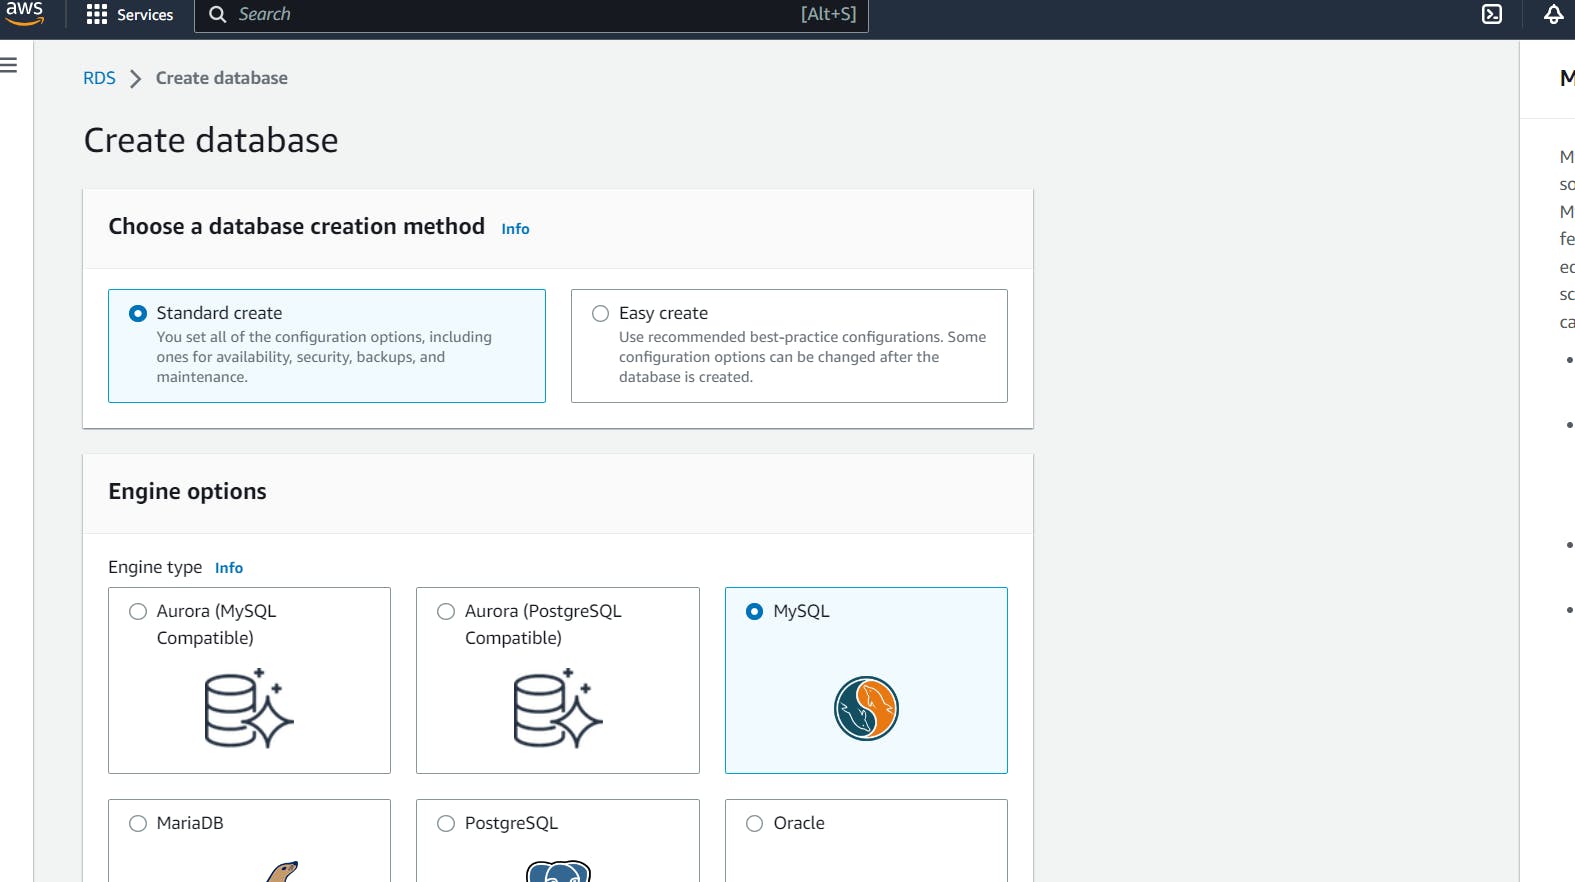
Create a Free tier RDS instance of MySQL
Go to your AWS console > Search RDS > Choose Create database > Select Standard Create > Under "Engine options", choose "MySQL"
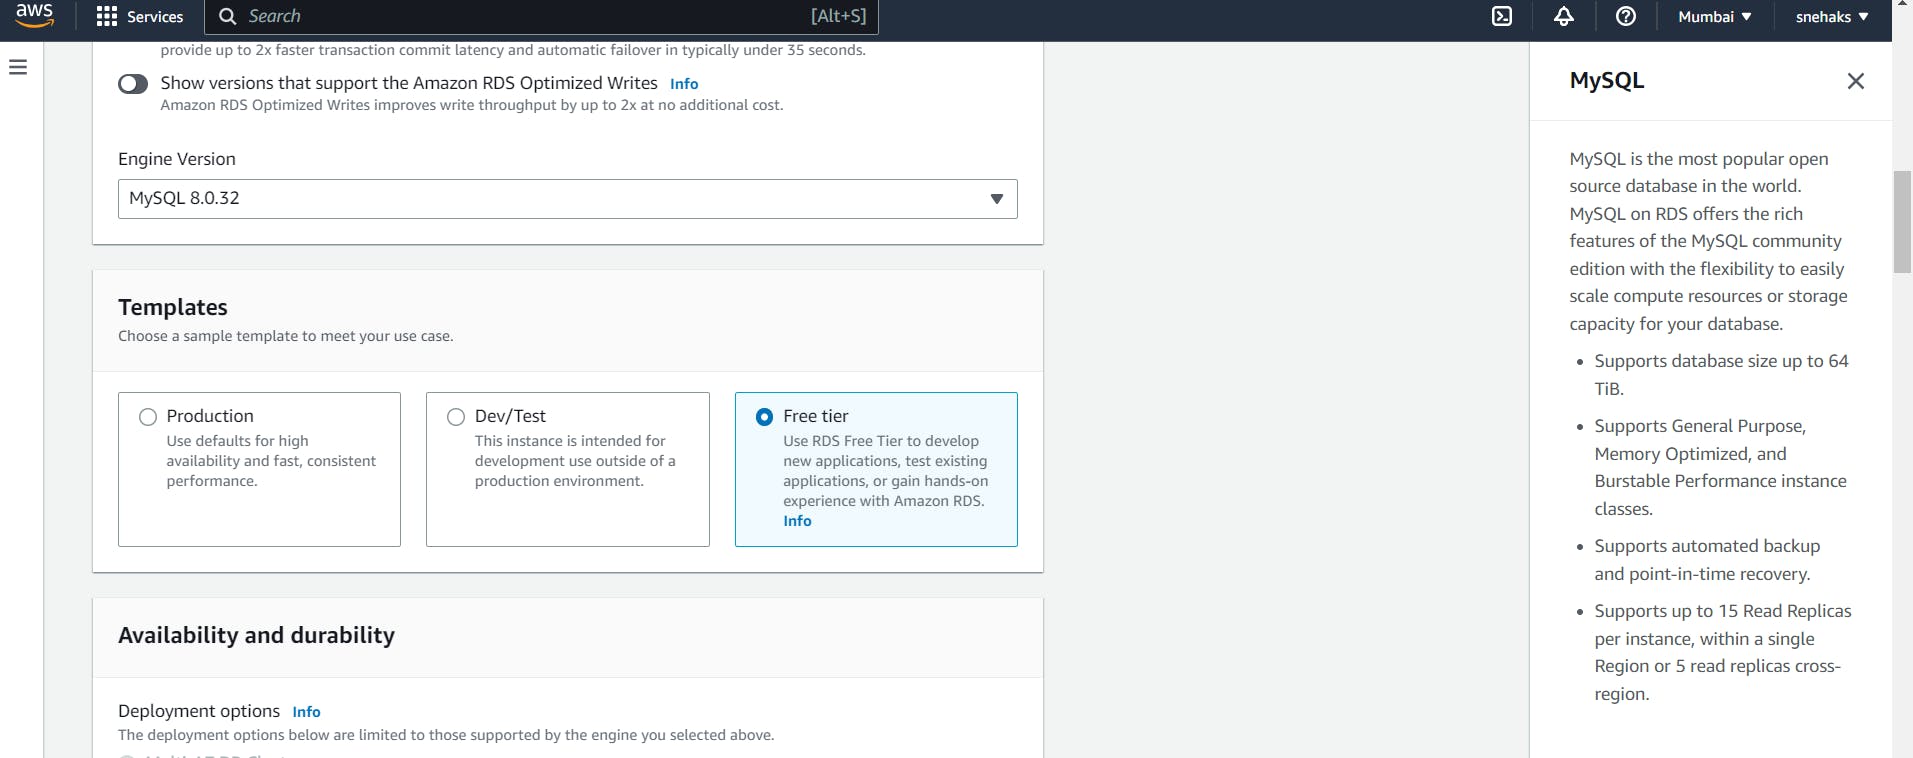
Select the Free tier
Under Settings, I am providing the following details:
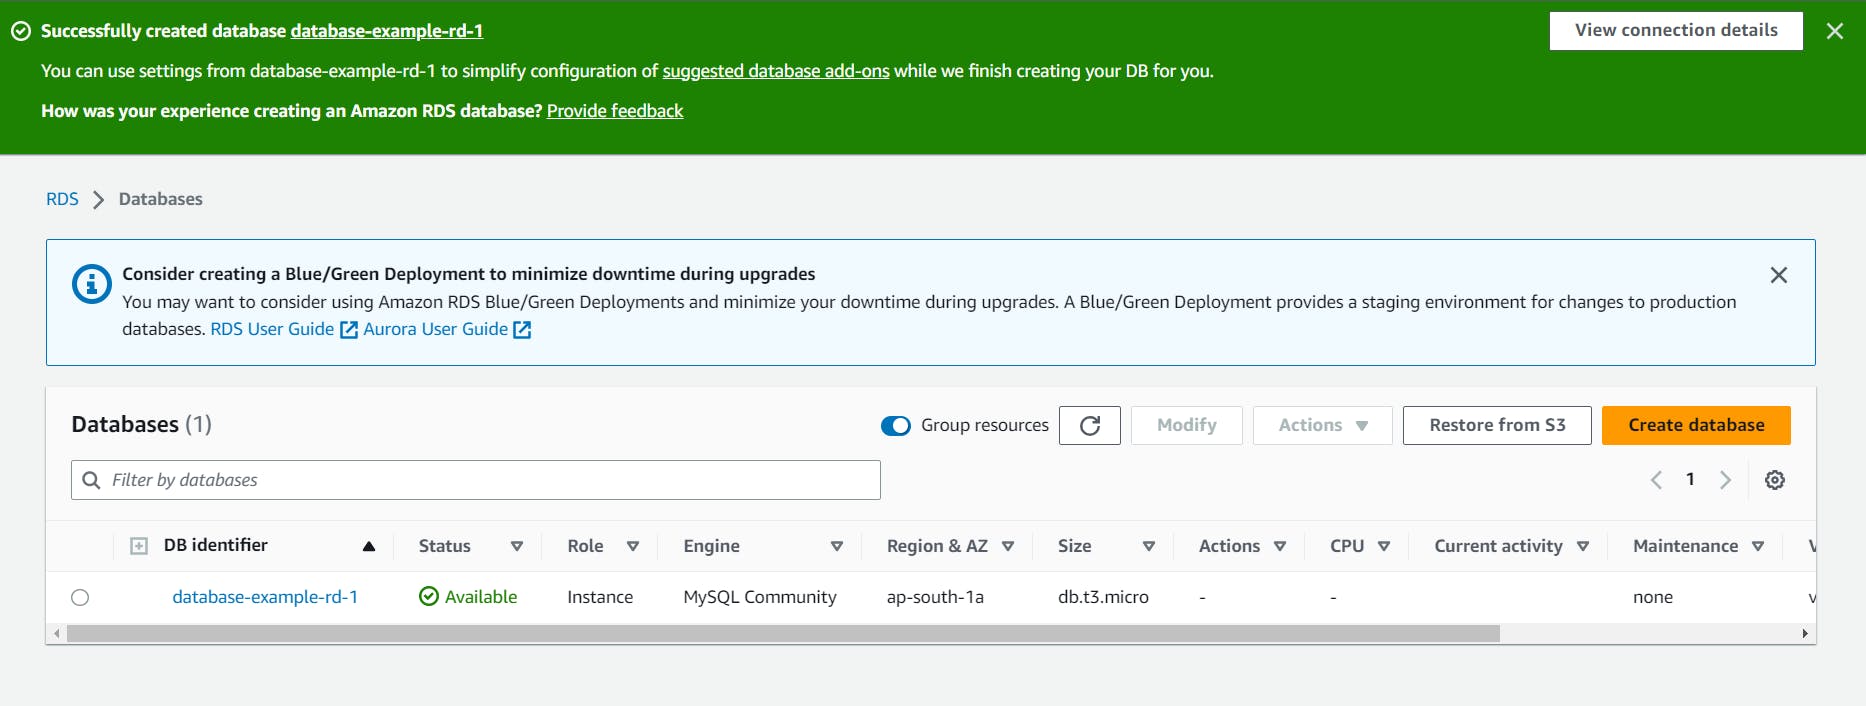
DB instance identifier: database-example-rd-1
Credentials Settings:
Master username: admin
And provide the password of your choice according to the constraints mentioned.
Configure other settings like storage, backups, VPC, and security groups according to your requirements. Review the configuration and click "Create Database".
RDS creation takes a few minutes.
Create an EC2 instance
I am creating an instance named rds-ec2-instance.

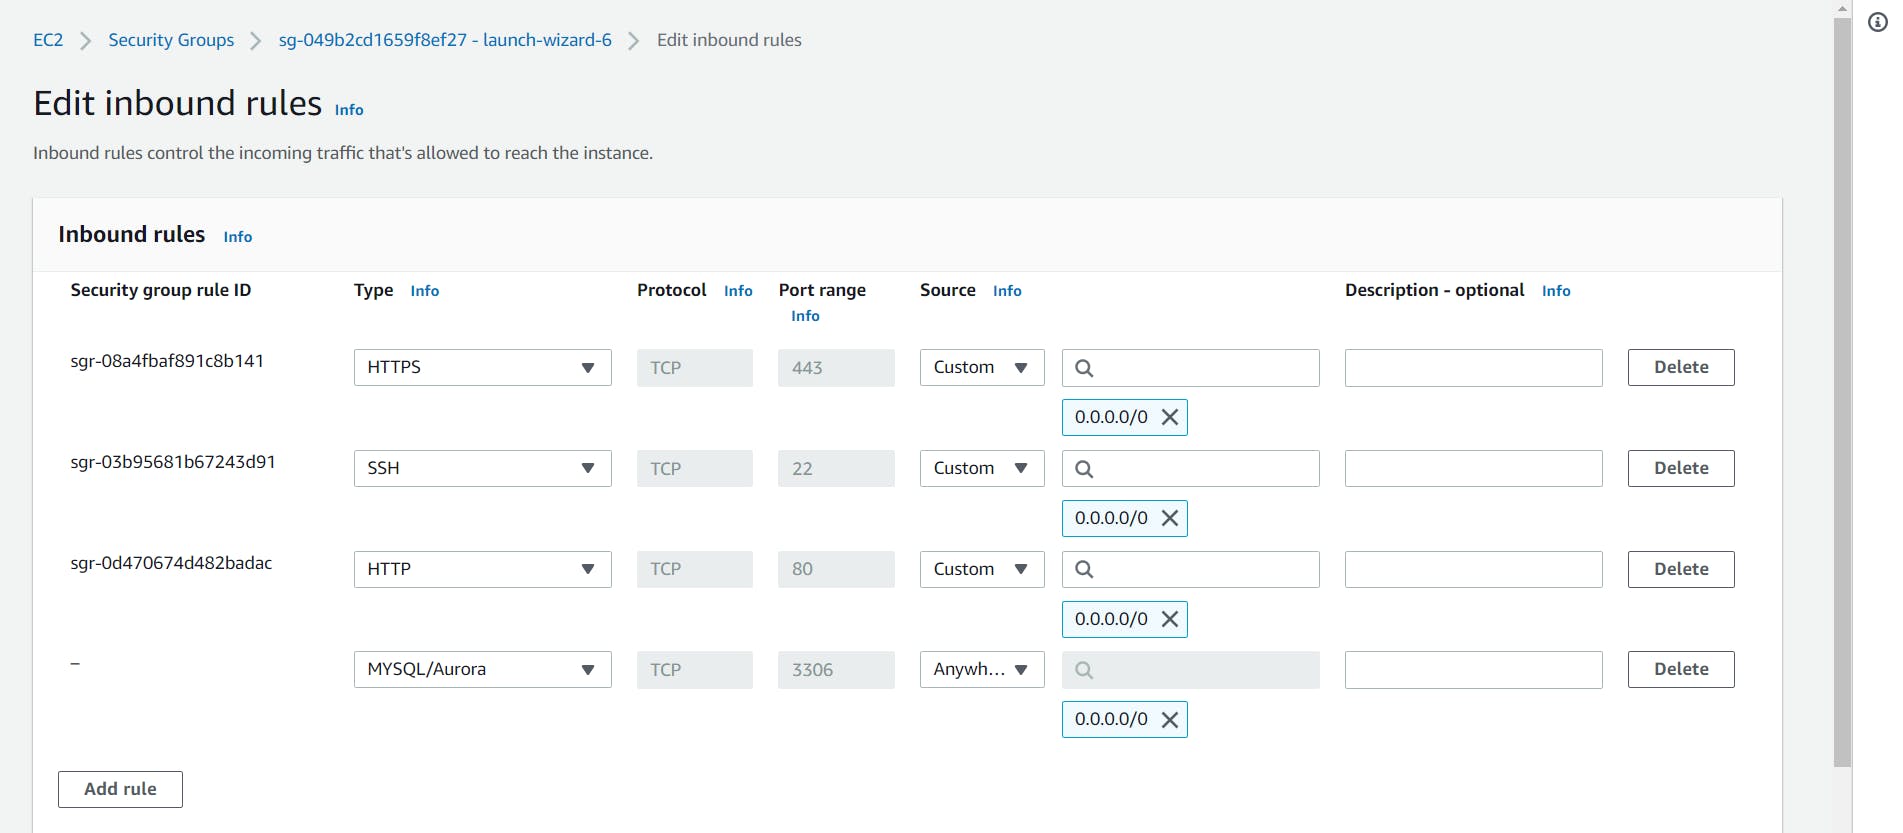
I am configuring the security group to allow inbound traffic on the MySQL port (default is 3306).
Create an IAM role with RDS access. Assign the role to EC2 so that your EC2 Instance can connect with RDS.
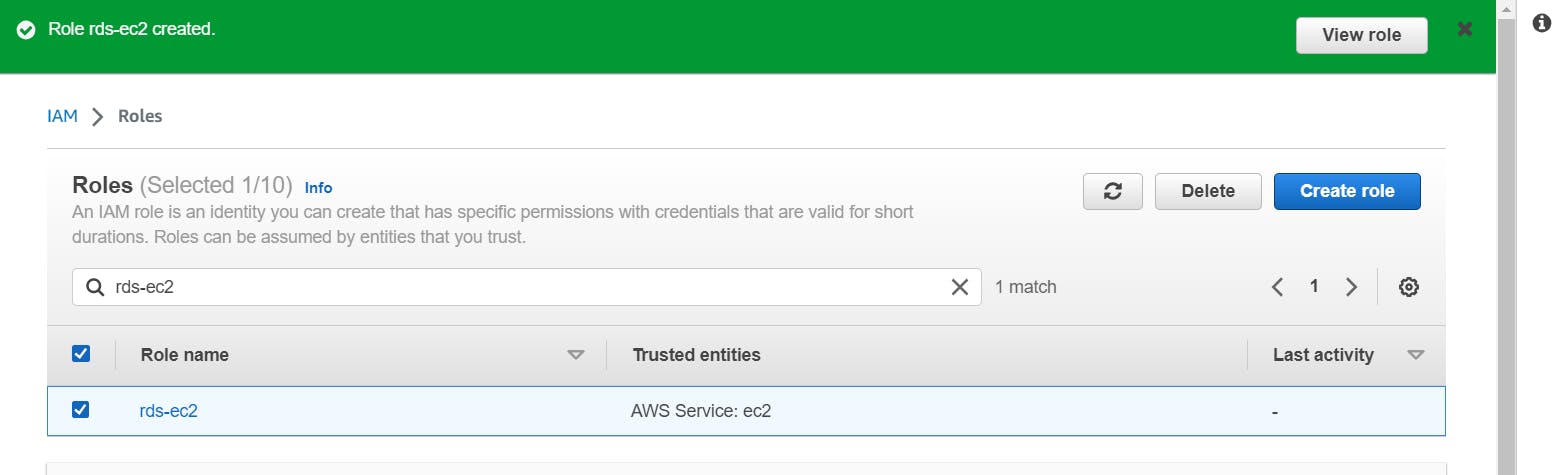
Go to IAM Dashboard > Click on Roles > Create Role > Select the EC2 service for the trusted entity > In permission policies, attach the permission AmazonRDSFullAccess > Name the role as "rds-ec2" > Create Role.
The role is created.
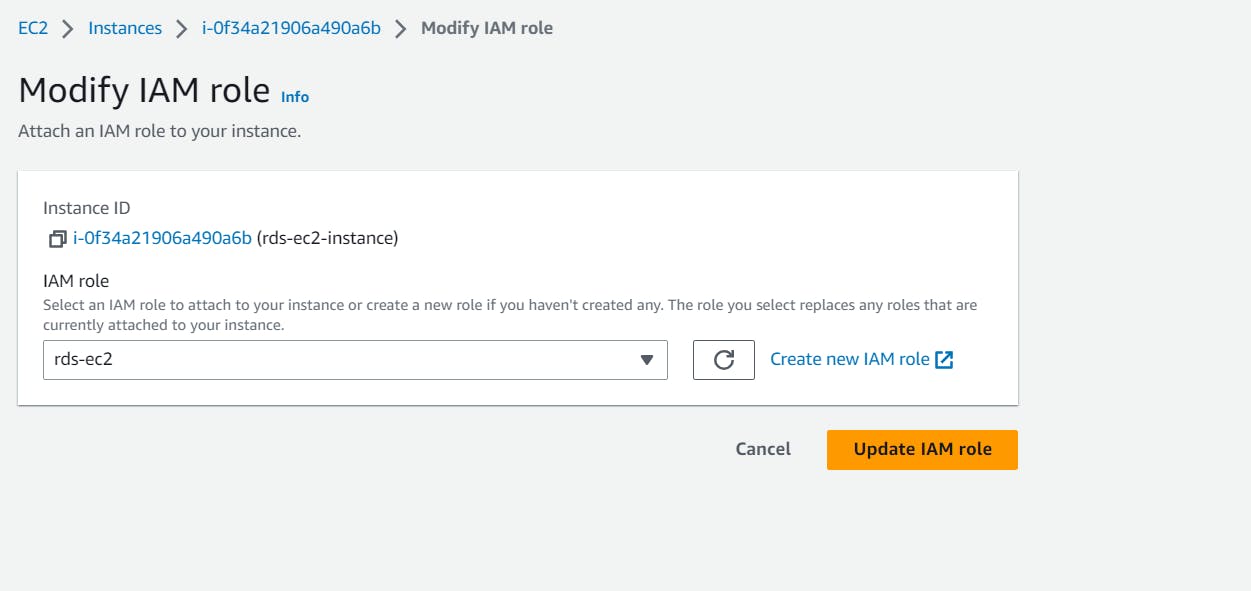
Let's assign this role to our EC2 which we created.
Go to your EC2 Management Console > Actions > Security > Modify IAM Roles

Select the role we created for this task.

Once the RDS instance is up and running, get the credentials and connect your EC2 instance using a MySQL client.
Go to RDS Dashboard > Select the Database you created > Copy the endpoint, port, and master username.
Under Connectivity & security:
Endpoint: database-example-rd-1.crlzycnnmkbk.ap-south-1.rds.amazonaws.com
Port: 3306
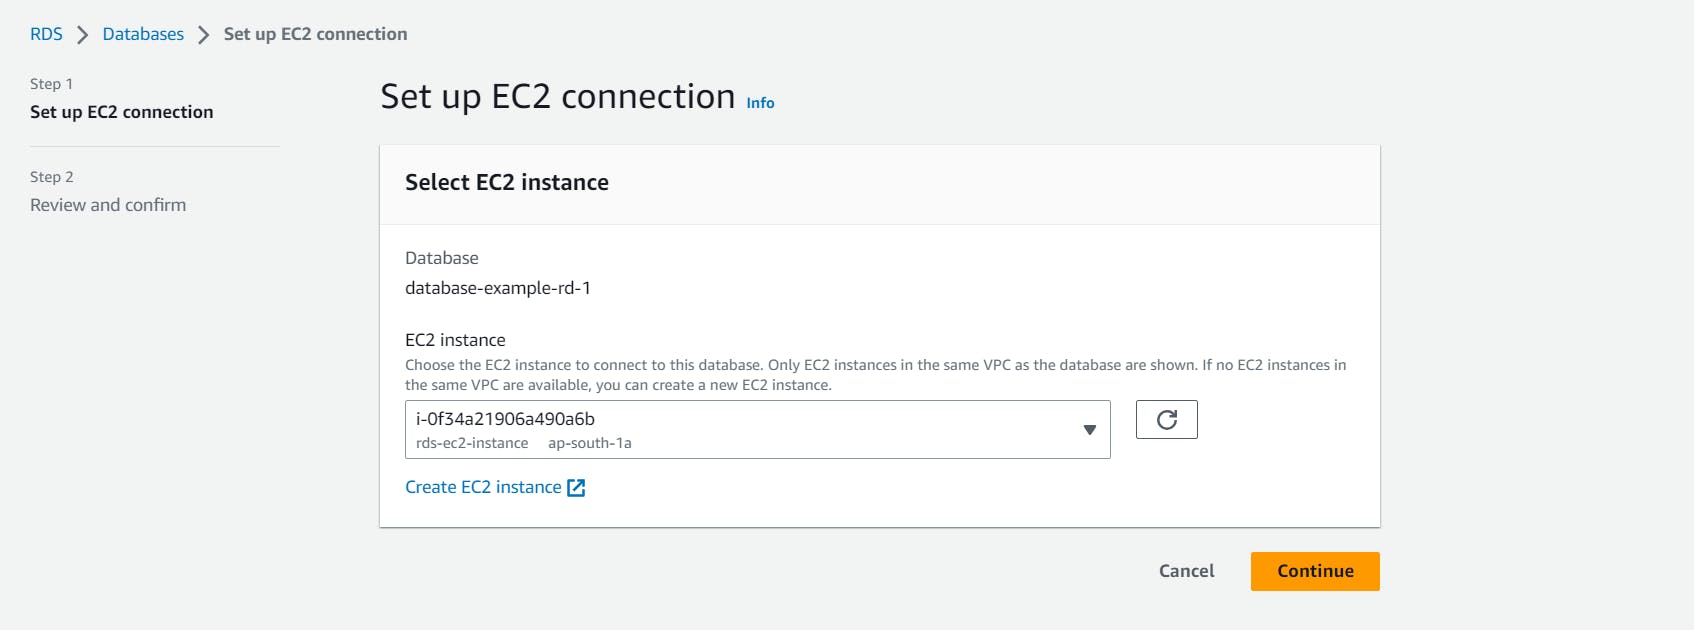
Scroll down to Connected compute resources:
Click on Set up EC2 connection. Select the instance which we created for this purpose.
And this can be verified under the same tab:
Under Configuration:
Master username: admin

Let's connect to the EC2 instance using SSH.
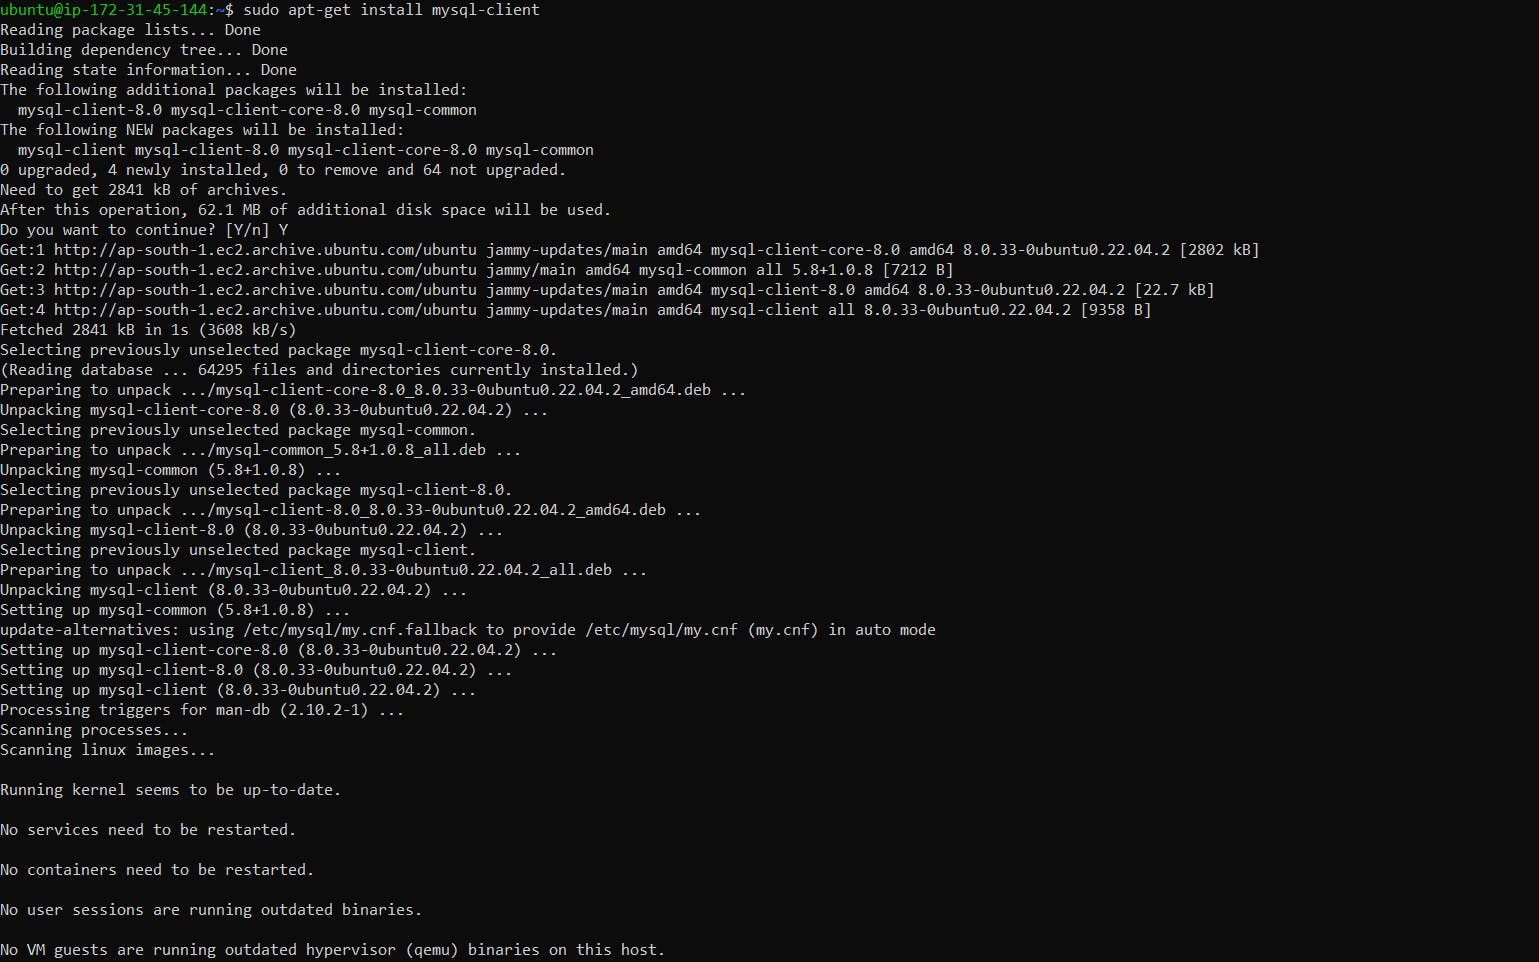
And then install the MySQL client in the instance:
sudo apt-get update
sudo apt-get install mysql-client
mysql --version

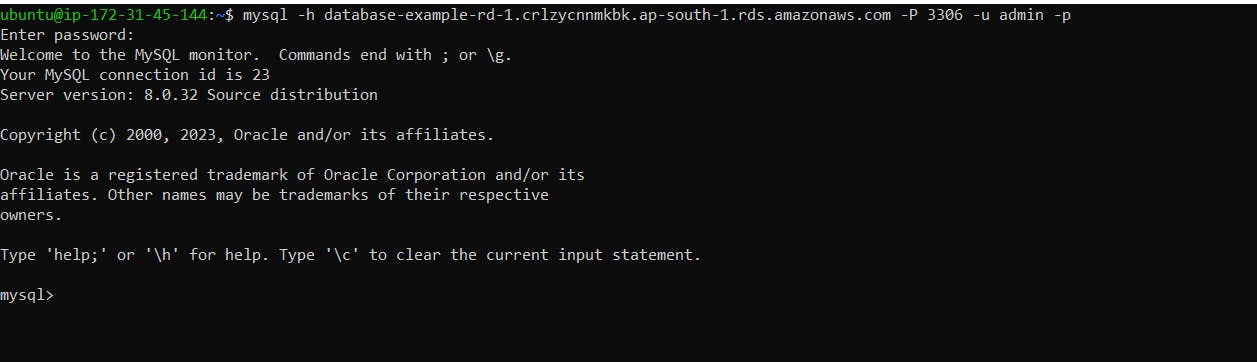
To connect to the RDS instance using the MySQL client and the endpoint address, username, and password, we use the following command:
mysql -h <RDS_ENDPOINT> -P <RDS_PORT> -u <MASTER_USERNAME> -p
#The below details we copied when we created the RDS instance:
#<RDS_ENDPOINT> with the endpoint of your RDS instance
#<RDS_PORT> with the port number (default is 3306)
#<MASTER_USERNAME> with the master username
# '-h' is used to specify the endpoint of MySQL server to which we want to connect (basically the host)
My command will look like this:
mysql -h database-example-rd-1.crlzycnnmkbk.ap-south-1.rds.amazonaws.com -P 3306 -u admin -p
After running this command, you will be prompted for the password. Give the password you created while creating RDS:
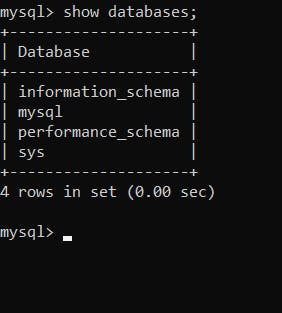
Now you can verify the CRUD operations confirming the MYSQL is working properly.
And Yay! We have created a Free tier RDS instance of MySQL, an EC2 instance, assigned an IAM role with RDS access to the EC2 instance, and connected to the RDS instance from the EC2 instance using a MySQL client.
In this blog, I have discussed Relational Database Services in AWS. If you have any questions or want to share your experiences, please comment below. Don't forget to read my blogs and connect with me on LinkedIn and let's have a conversation.
To help me improve my blog and correct my mistakes, I am available on LinkedIn as Sneha K S. Do reach me and I am open to suggestions and corrections.
#Day44 #90daysofdevops